Our First Water
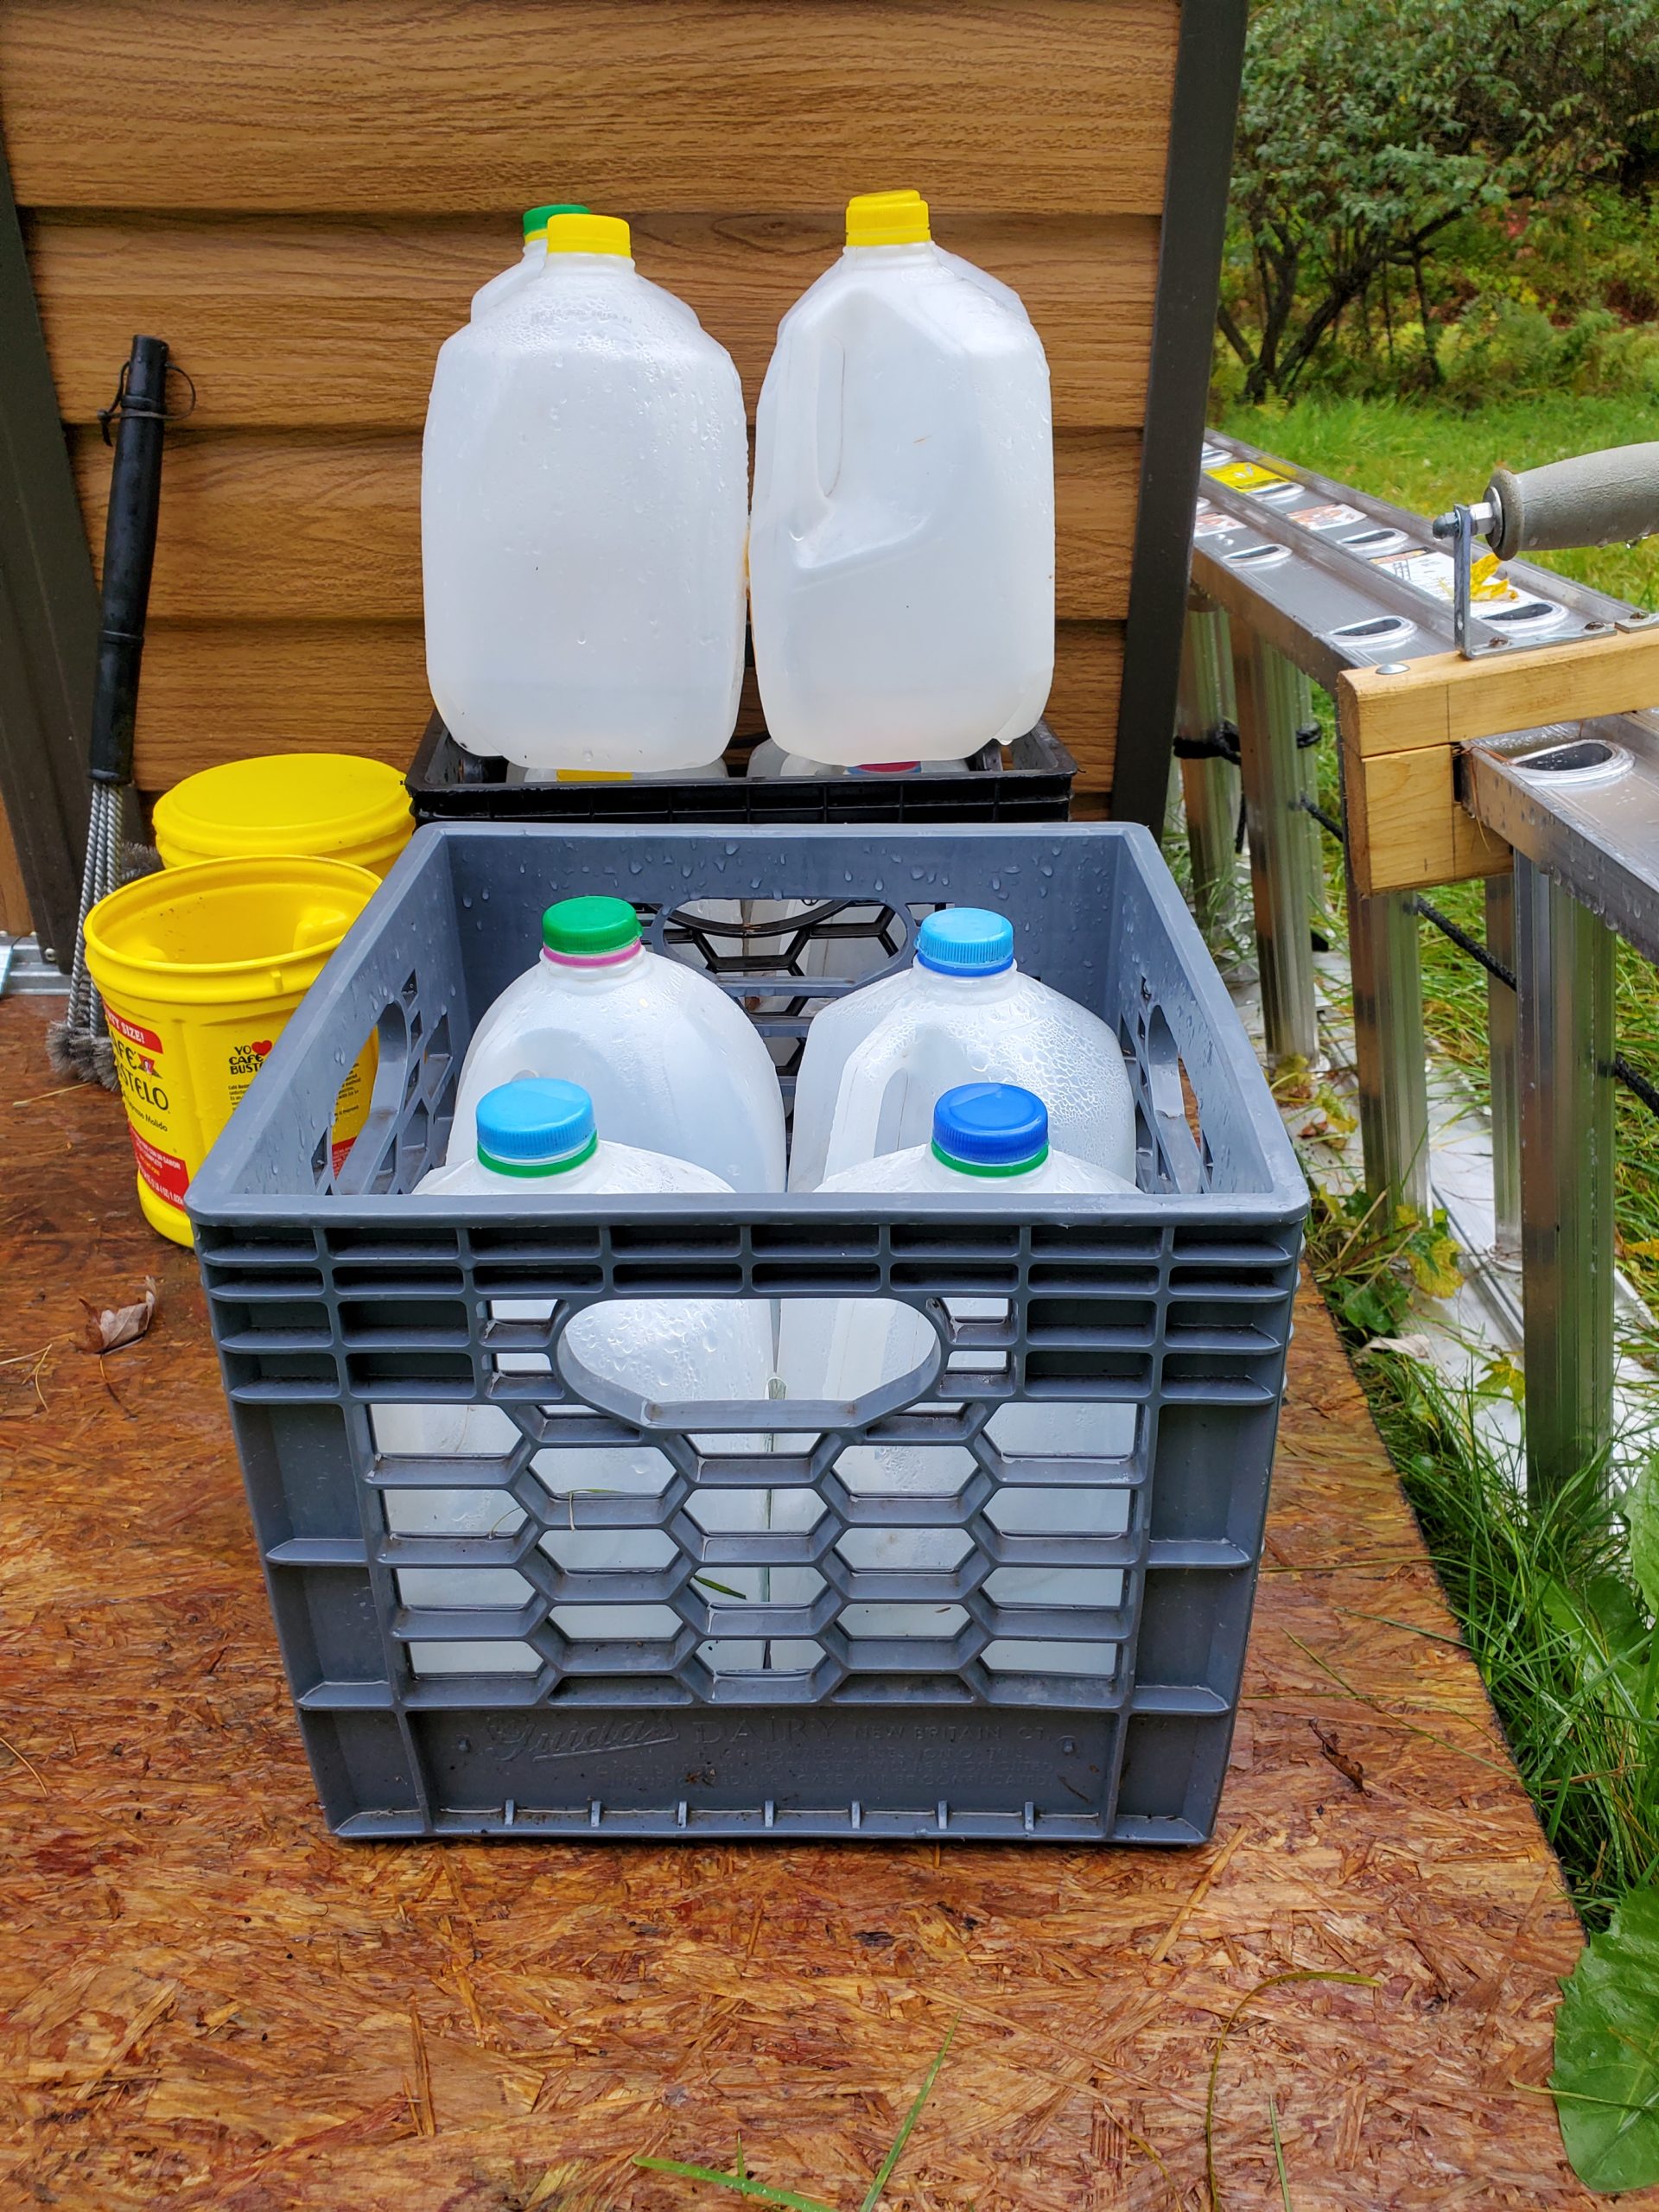
The house had no water. For the summer, we figured we would run over to my mother-in-law’s cottage a few times a week to fill up about a dozen jugs with water at a time. It was an eye-opener to discover just how much we required, even with careful use. Even my time in the Marines didn’t truly prepare me, probably because we didn’t have to wash dishes, flush a portable toilet, and battalion supply showed up a couple times a day with a big tank on a trailer to fill our canteens.
One of Linda’s guilty pleasures has been watching Homestead Rescue, in which Marty, Matt, and Misty Raney, members of a family from Alaska, apply their experience in building, farming, and hunting to help people trying to homestead off the grid. I’m not sure whether she watches it to get tips and ideas for our own project, or whether it’s because the challenges facing the homesteaders in the different episodes generally overshadow whatever we’re up against.
Either way, the Raneys often start out by looking at the homesteaders’ food supply and storage arrangements, their fire-safety perimeter, and their access to water. I’m pretty sure this first water set-up of ours would never have passed muster, but it got us started.
On Town Water
The house did have a town water supply pipe in the basement, but that was all. It didn’t have a meter or faucet, and it wasn’t even turned on.
It was my sister Pam who suggested that we contact the town and our plumber to see if a temporary hook-up could be installed. Having never been on a job site at this stage of the project, it hadn’t even occurred to me.
To our delight, the director of the town’s Water Department, Russell Cross—known to folks in the area as Rusty—said it could be done. So did our plumber. Within a week, we had water hook-up in the basement with a single hose bib (faucet to the layman), to which we attached a splitter to accommodate multiple hoses.
Now we could fill our plastic jugs on site!
Outdoor Shower
Linda has memories, going back decades, of taking outdoor showers at a place on Martha’s Vineyard. She wanted us to have one at the house.
After researching the options (OK, she researched the options), we decided on a Triton 10L Portable Camp Water Heater. We figured out a temporary location for this shower, and a long-term place for after we’ve finished the other work.
The first thing I did to put in the shower was to prep the ground so it wouldn’t get muddy every time we took showers.
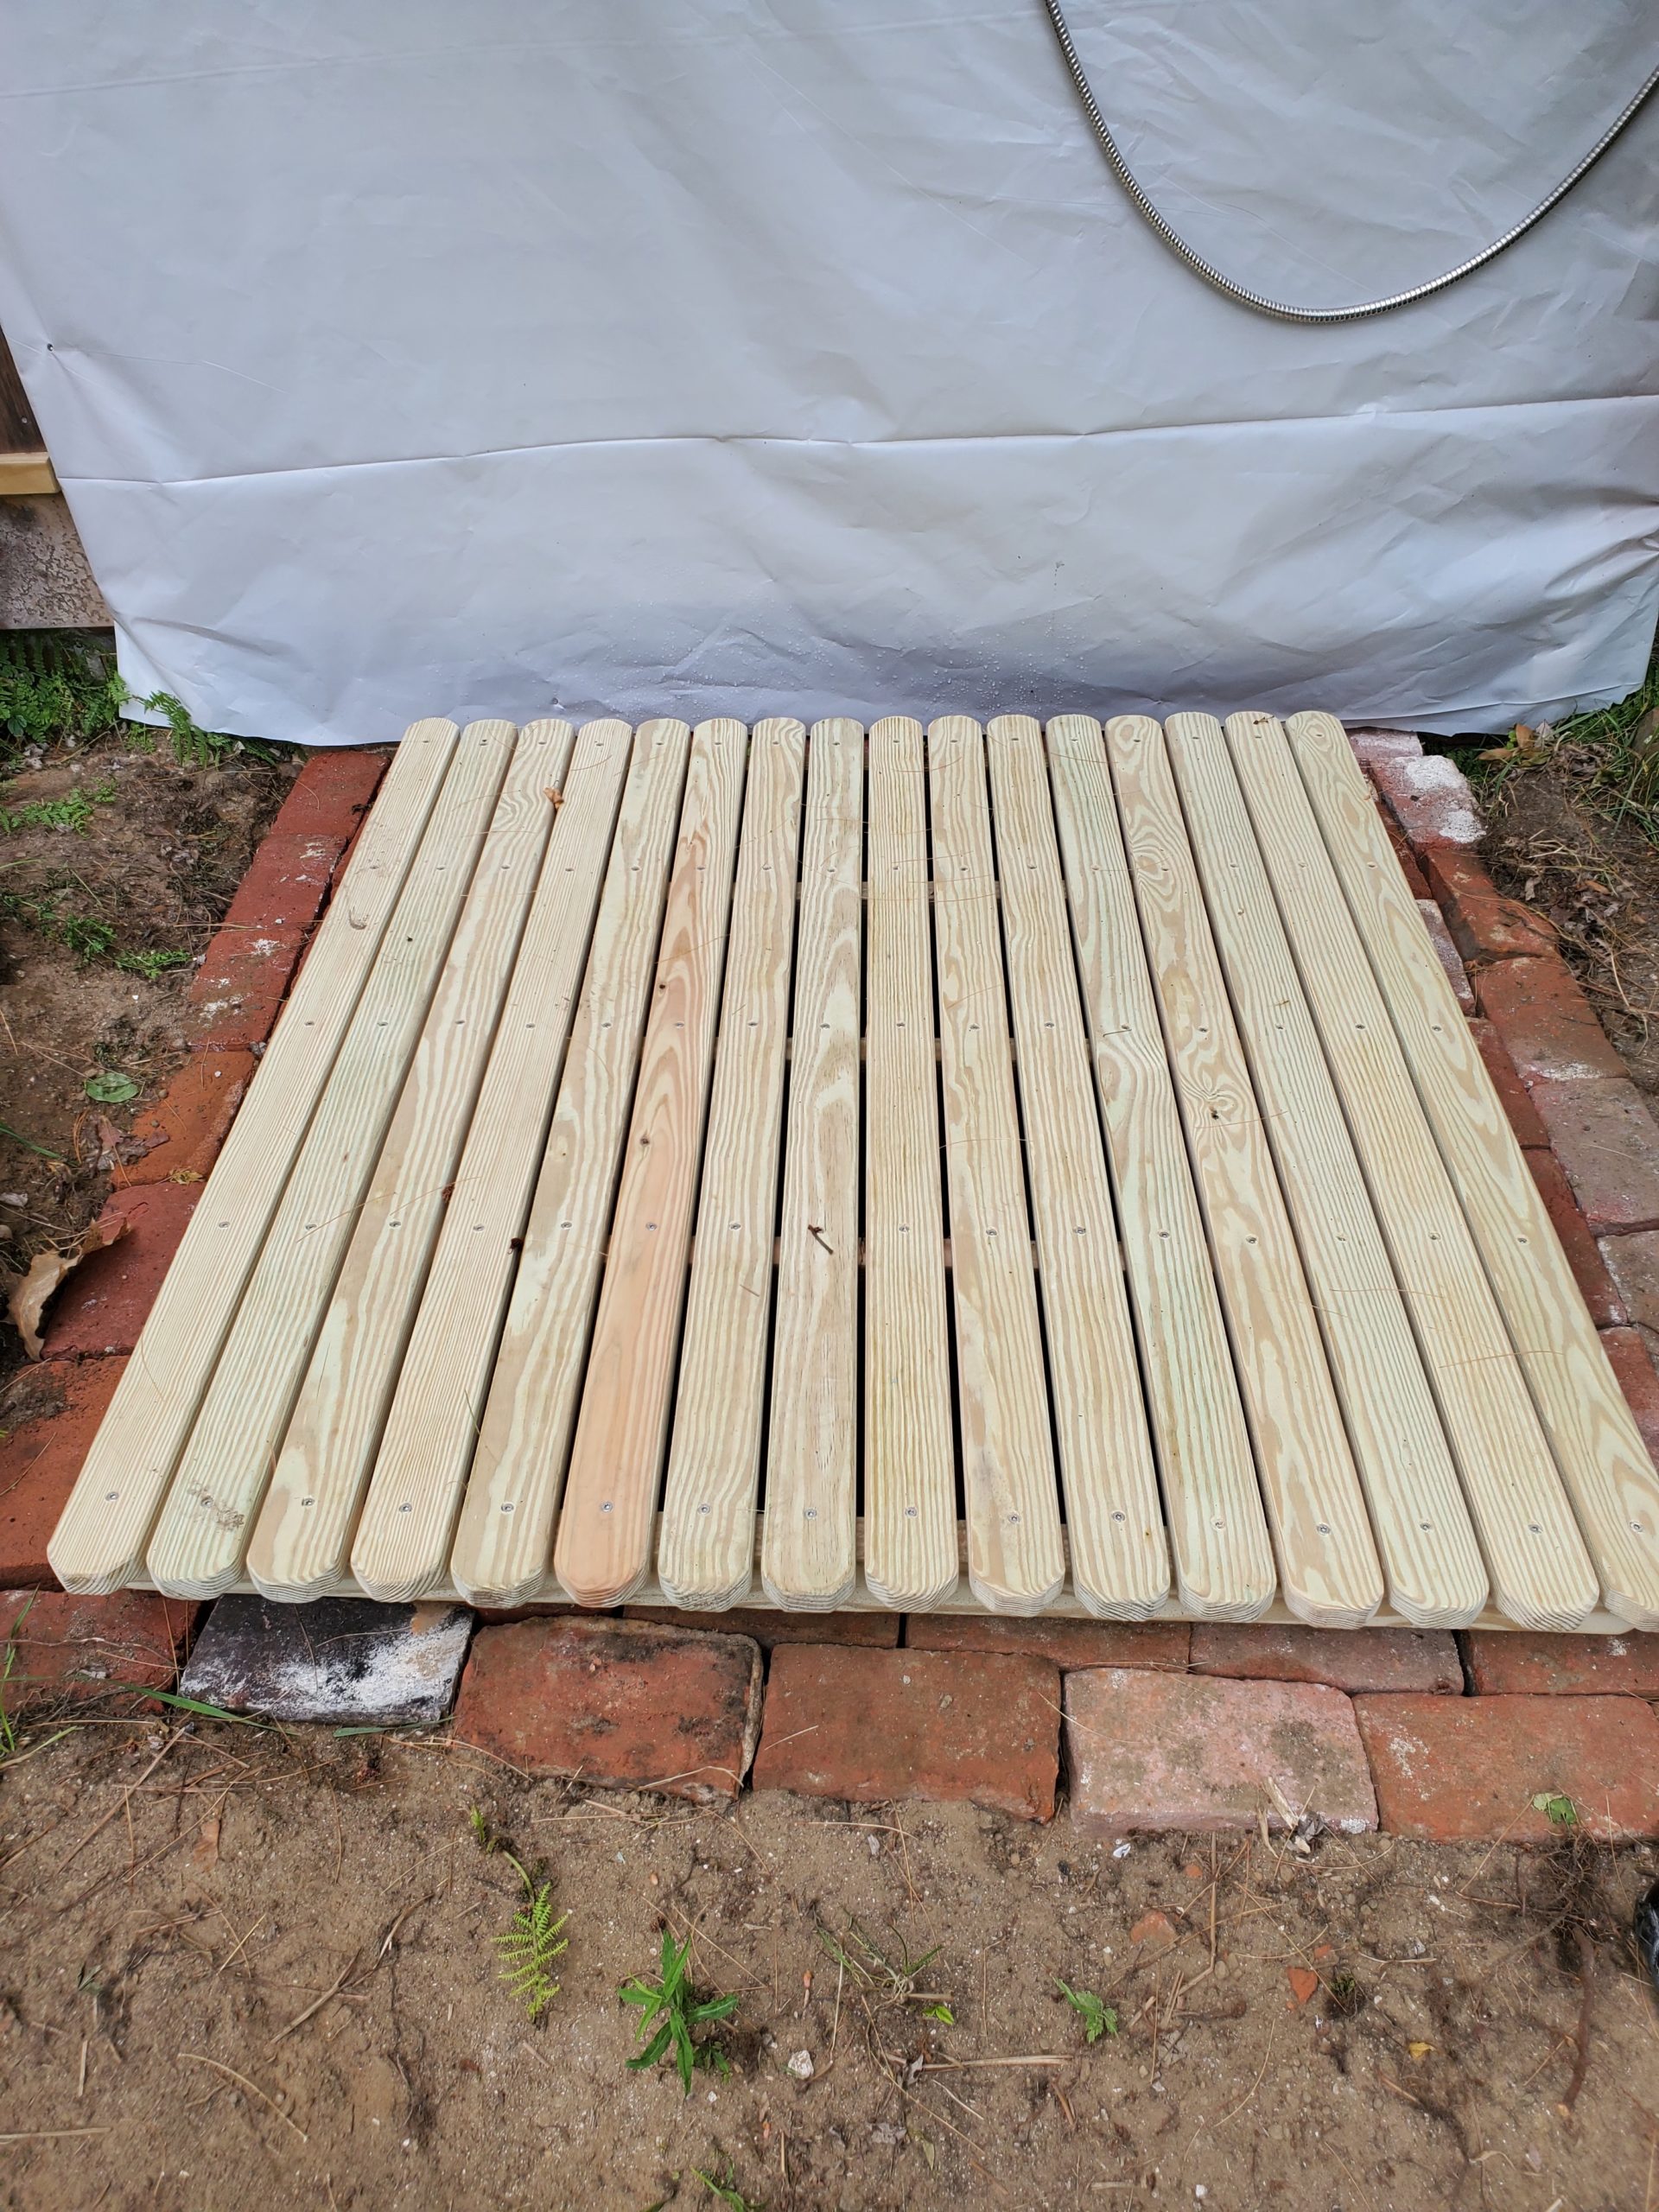
After leveling the dirt—which included digging up a fair number of roots—we took bricks we had salvaged from the dismantled chimney and laid them out to create a kind of mini-patio. The openings between the bricks were just wide enough to let water flow through and run off.
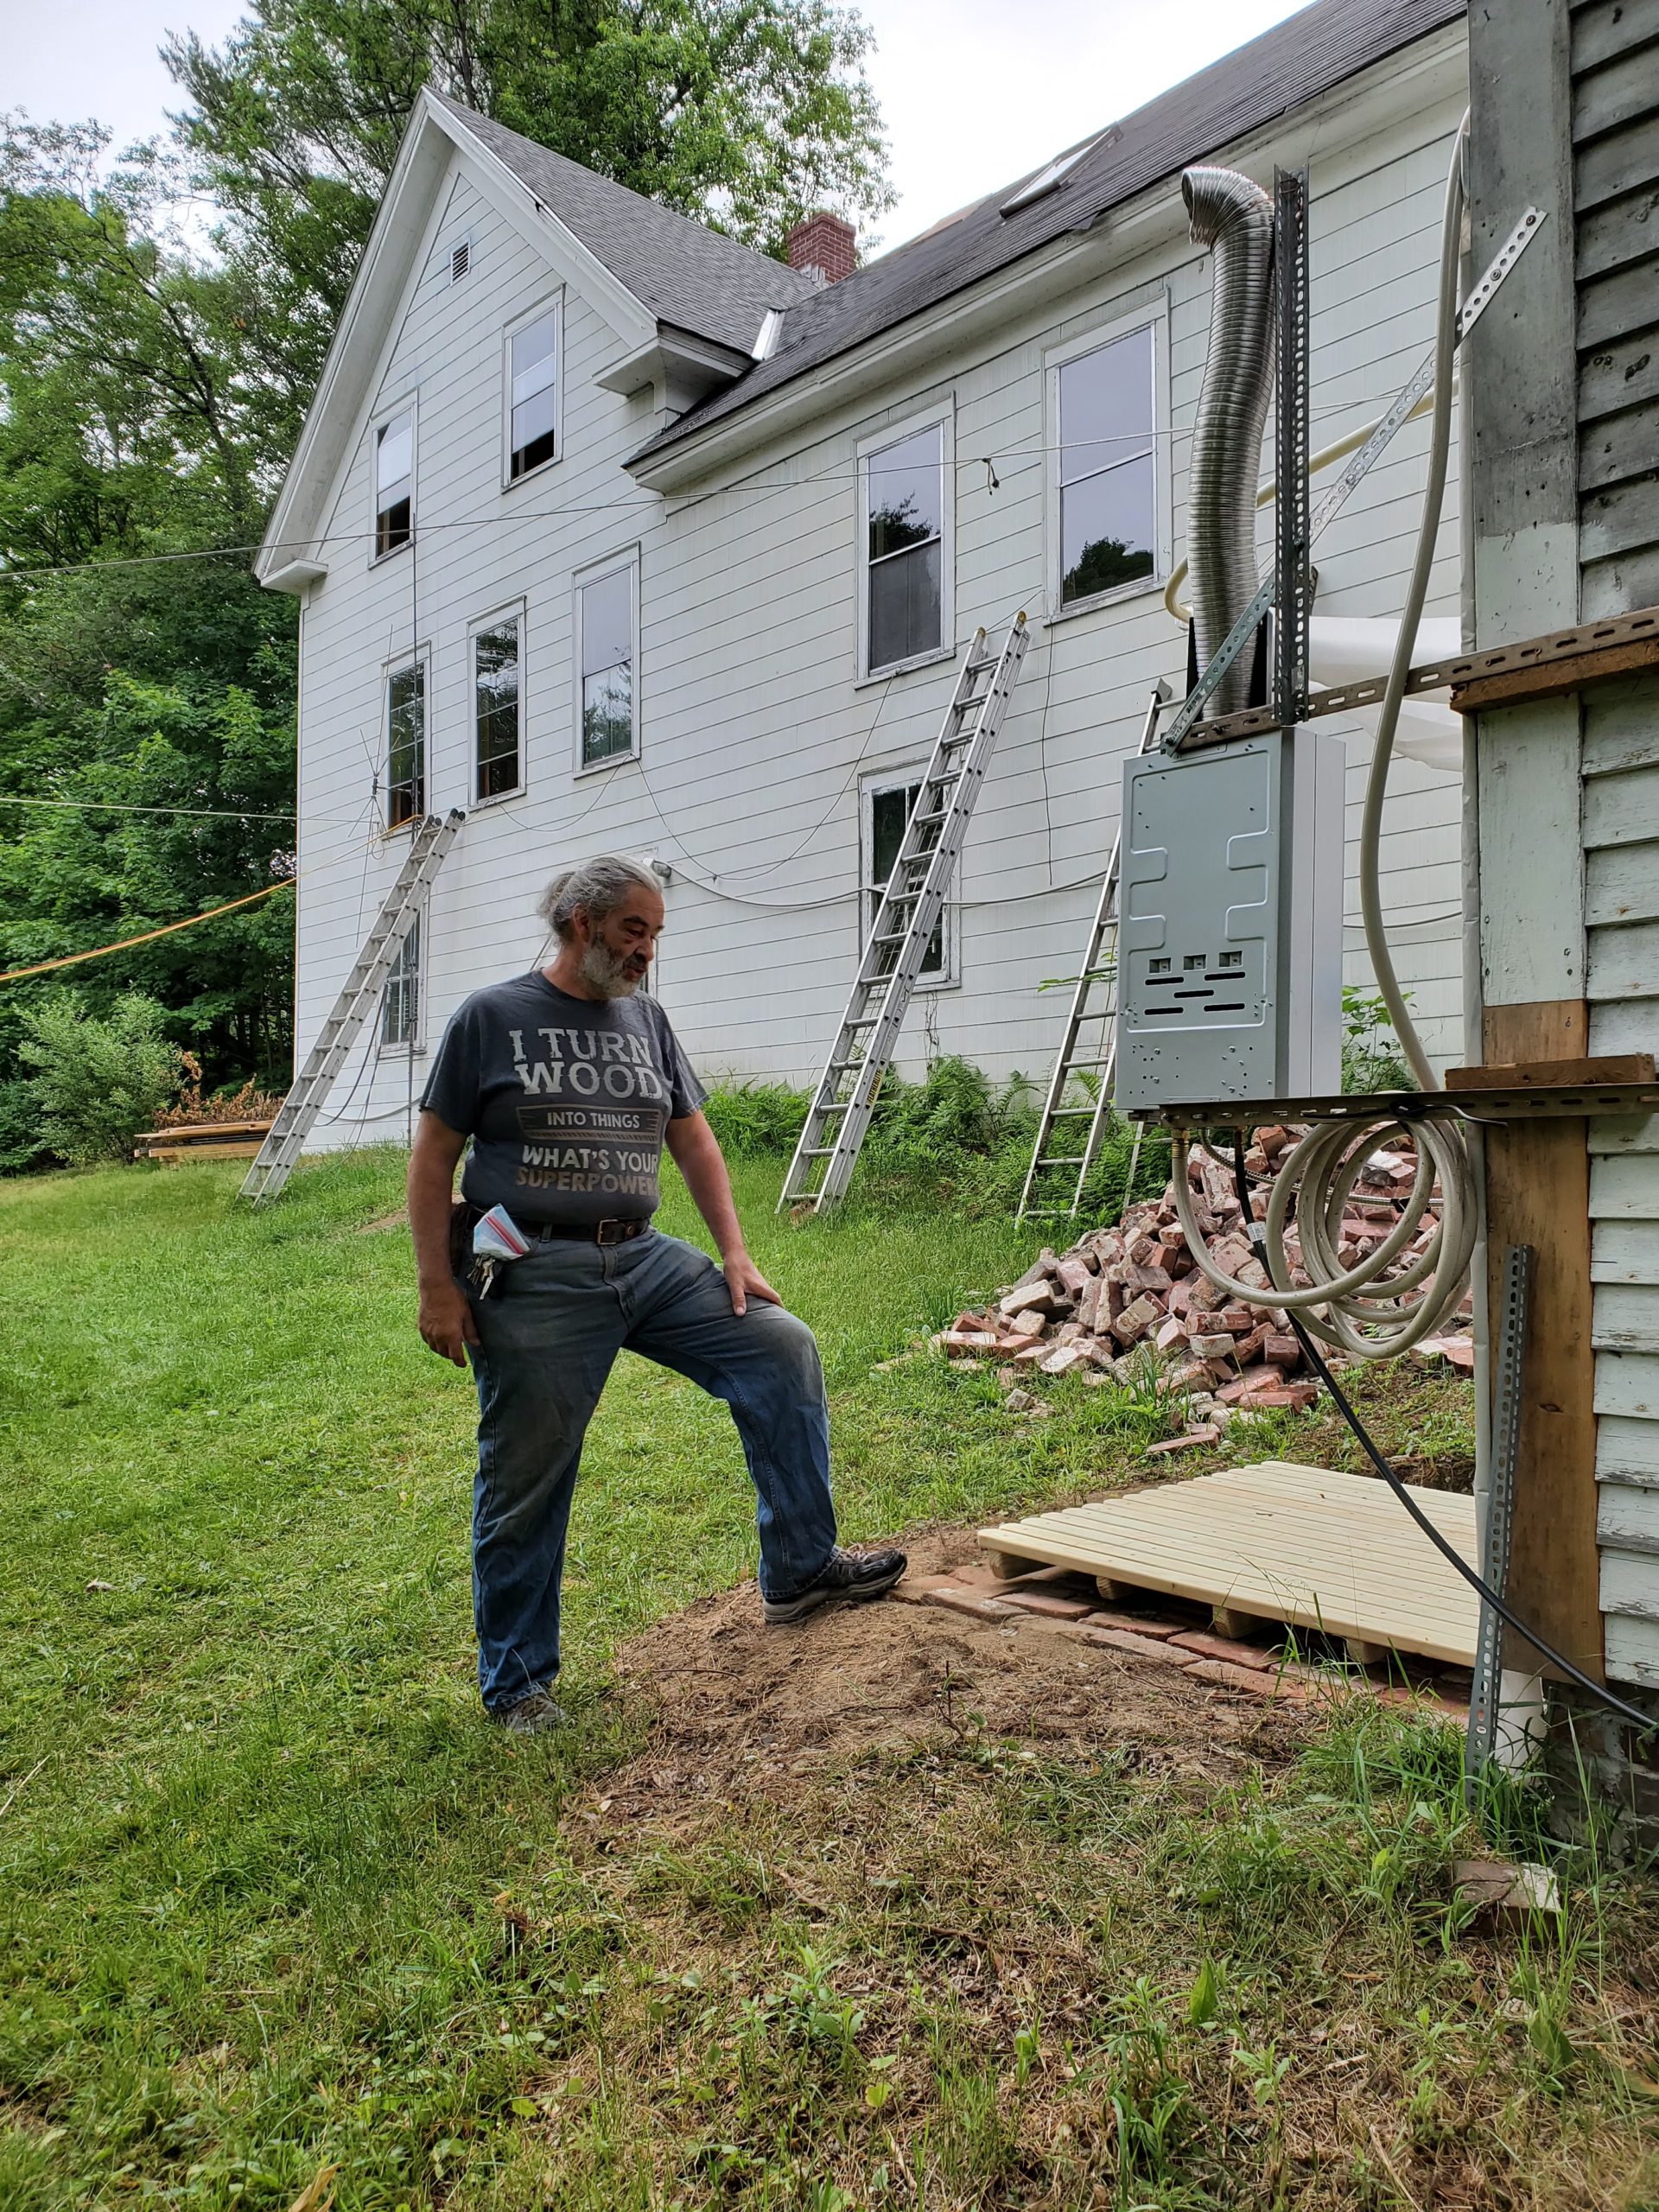
For the shower platform, I built a pallet using shaped and well sanded pieces of 5/4 thick pressure-treated decking. The palette will eventually get re-used when we set up the permanent outdoor shower.
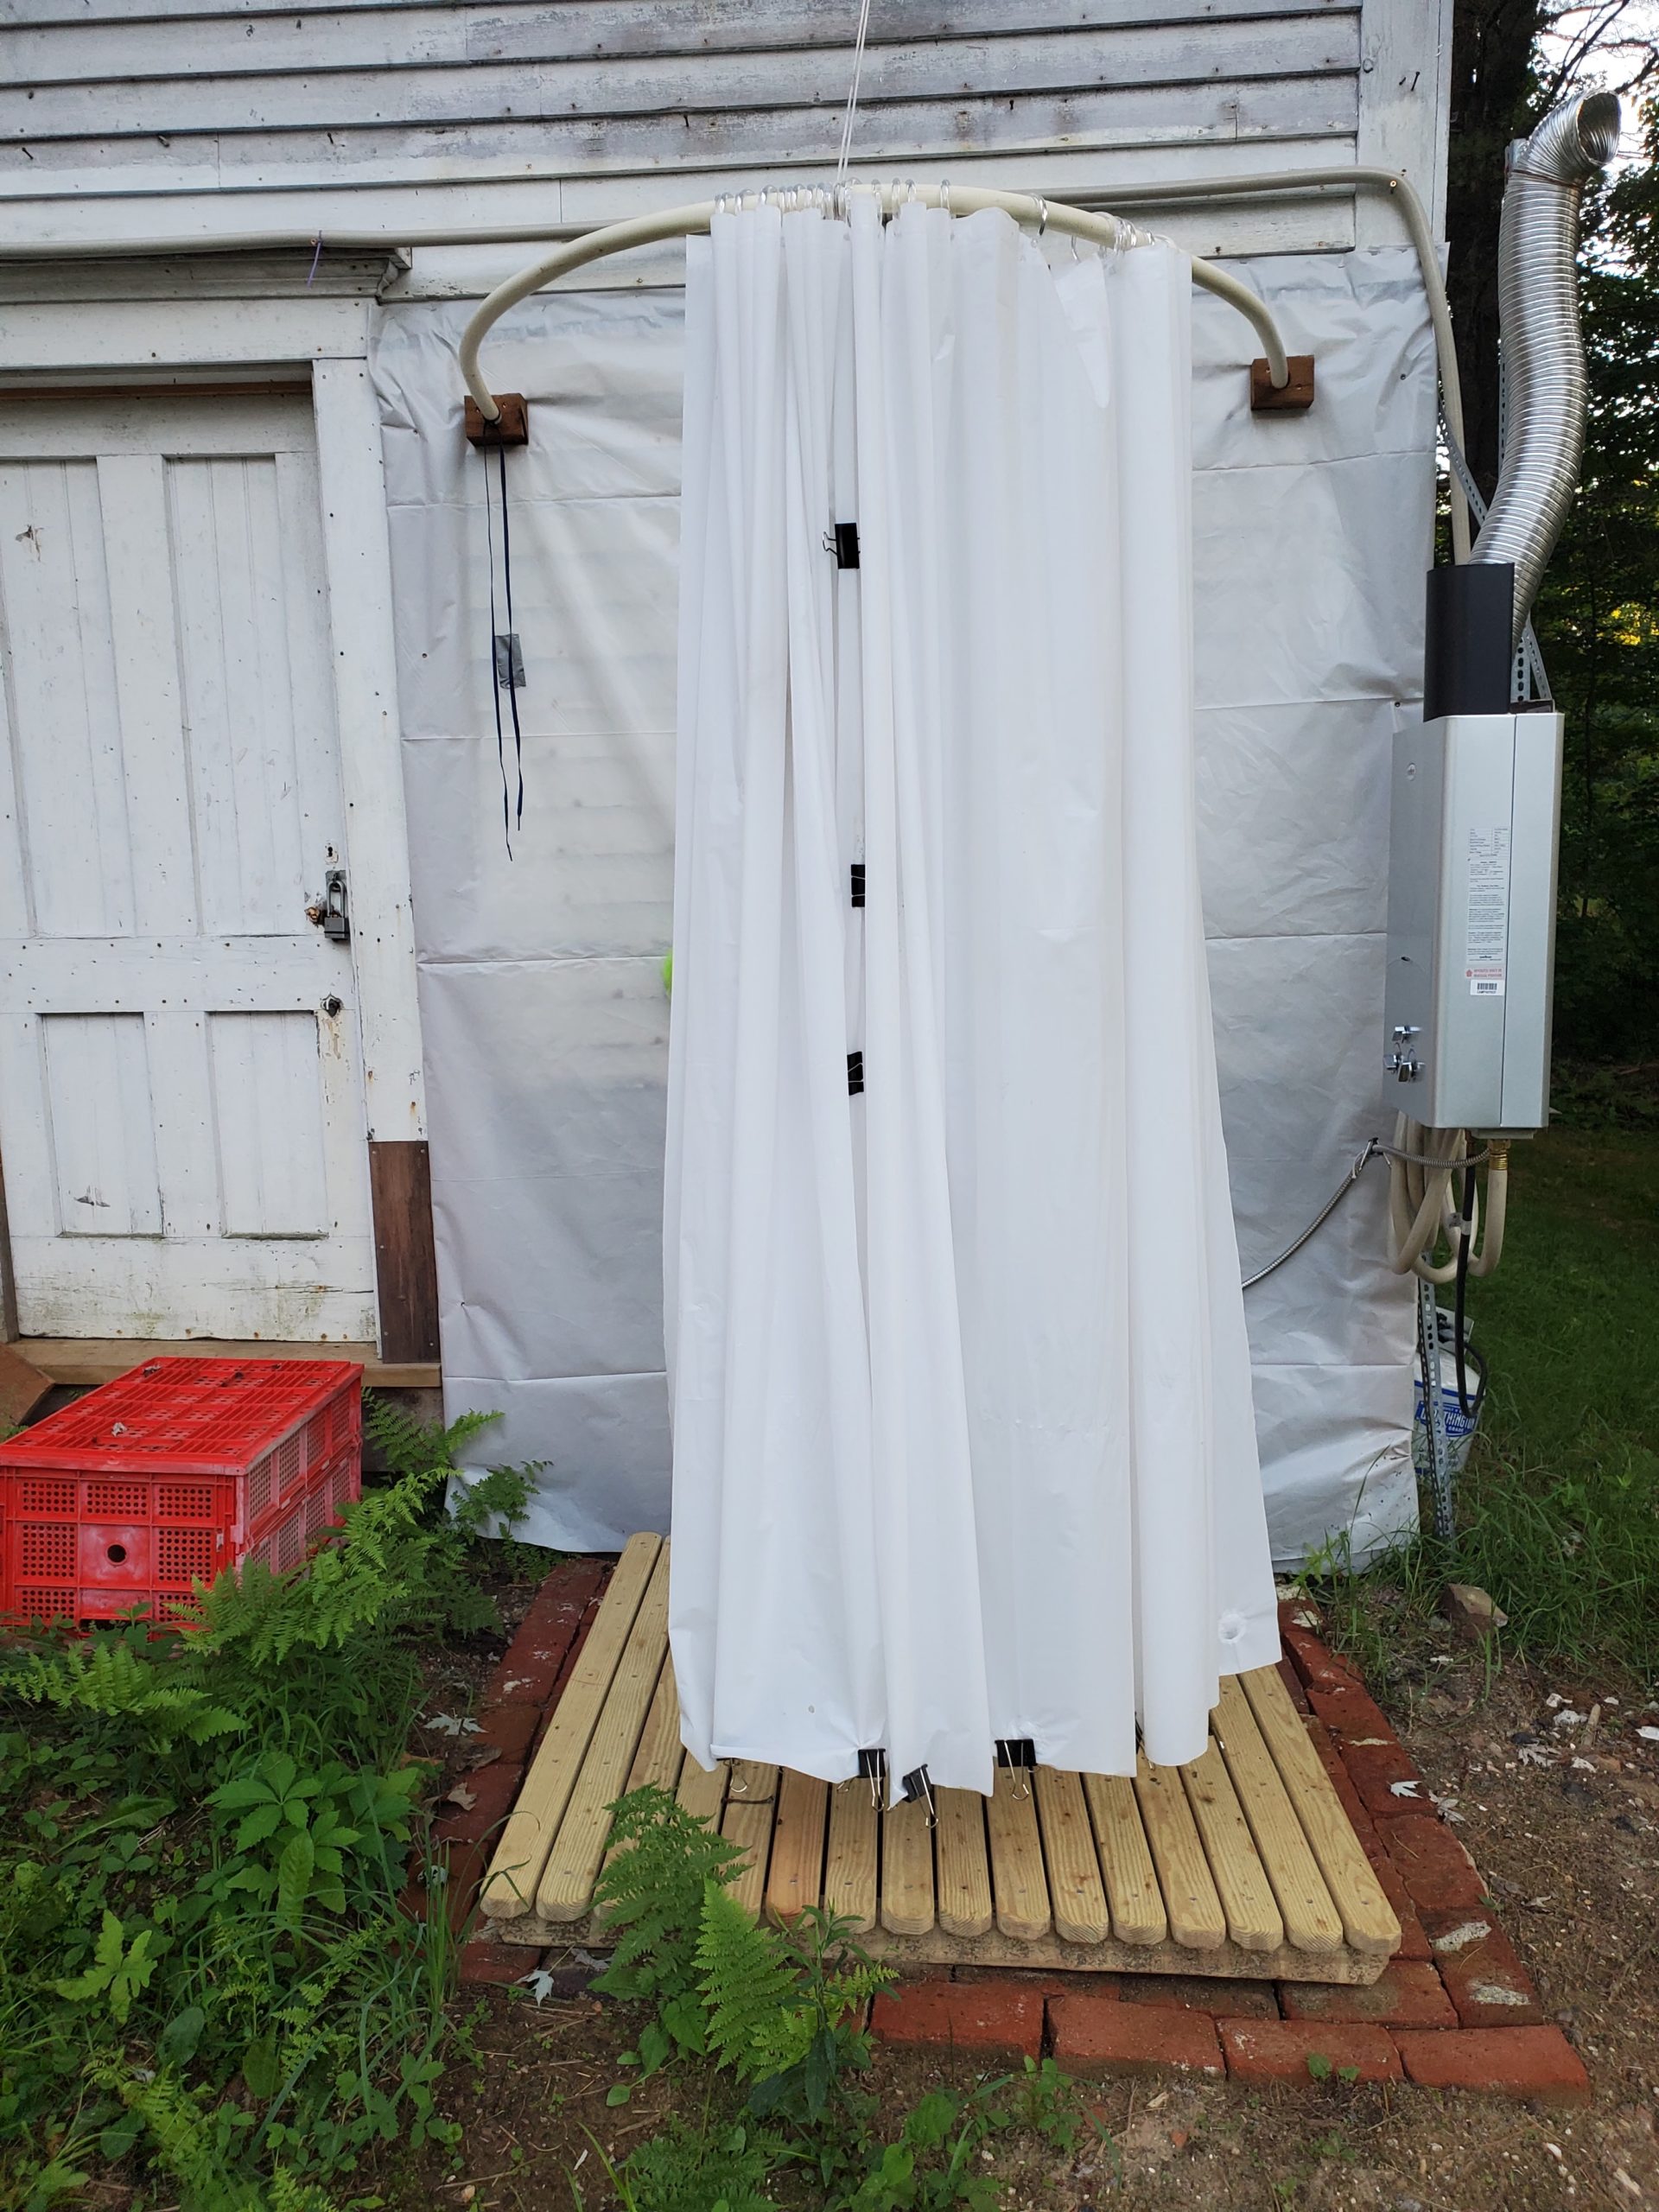
I then attached a sheet of plastic to the side of the barn, so the water wouldn’t fall directly against the siding when we took showers. Next, I screwed two angle irons to the side of the barn and attached the water heater to them. It hooks up to your water supply (I used a hose connected to our town water) and to a small tank of propane.

The unit lets you adjust the water temperature and volume.

To make the shower rod, I used a heat gun to bend a piece of 1¼” PVC pipe into the half-circle. I screwed two blocks of wood to the side of the barn, attached the ends of the PVC pipe, and used a rope to support the outside of the shower rod.

When you turn on the flow of water, the burner ignites automatically. You can then adjust the temperature up or down. The burner shuts down when you turn off the water. That way, you heat only as much water as you need, and only when you need it.
Finally, I hung a shower curtain weighted with binder clips. The binder clips were an after-thought, following the first time I tried the shower and experienced what a breeze can do with an insufficiently weighted curtain. Fortunately, there’s a fair amount of woods between us and the neighbor on that side of the house.
For water, I ran a long hose from our new hook-up to the town’s water system.
Backflow Arrestors and Meter Horns
Initially, the water pressure for the shower was erratic. Maintaining a constant water temperature also proved difficult.
This part of the story is out of order, but that is so we can wrap up on the outdoor shower and our water supply.
When our plumber Ray Defosses installed the rough plumbing weeks later, he observed a contradiction he couldn’t explain. Each time he ran a water pressure test, it said we had high pressure. However, if the water ran for as few as fifteen or twenty seconds, the water volume dropped off drastically. This did not bode well.
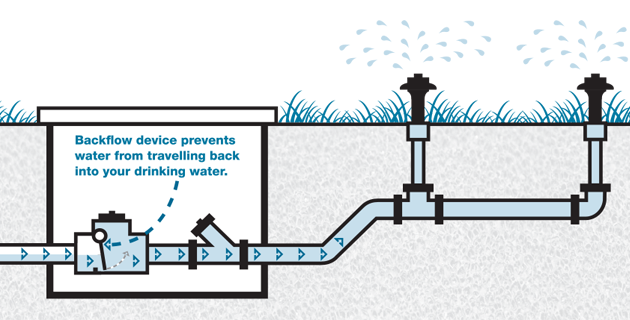
We called the folks from the Water Department, who came over to check things out. They bypassed the backflow arrestor to test the pressure running from the street. (As “Plumbing Today” explains it, “A backflow preventer [or arrestor] is a device that’s installed on your home’s water pipes that allows water to flow in one direction but never in the opposite direction. Its sole job is to prevent drinking water from being contaminated due to backflow.”)
Everything looked fine.
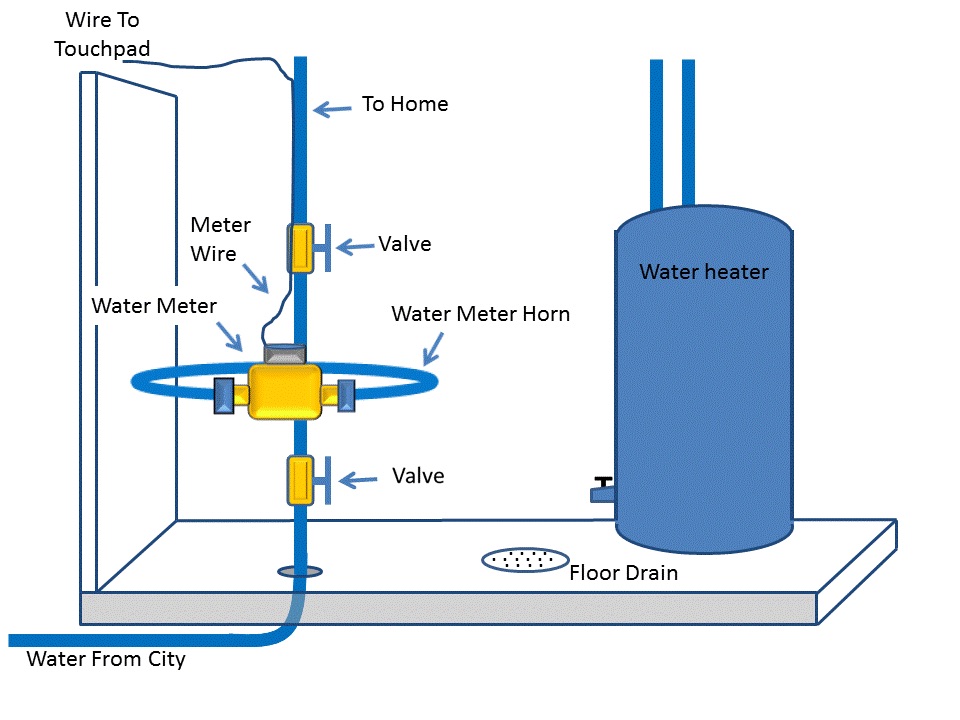
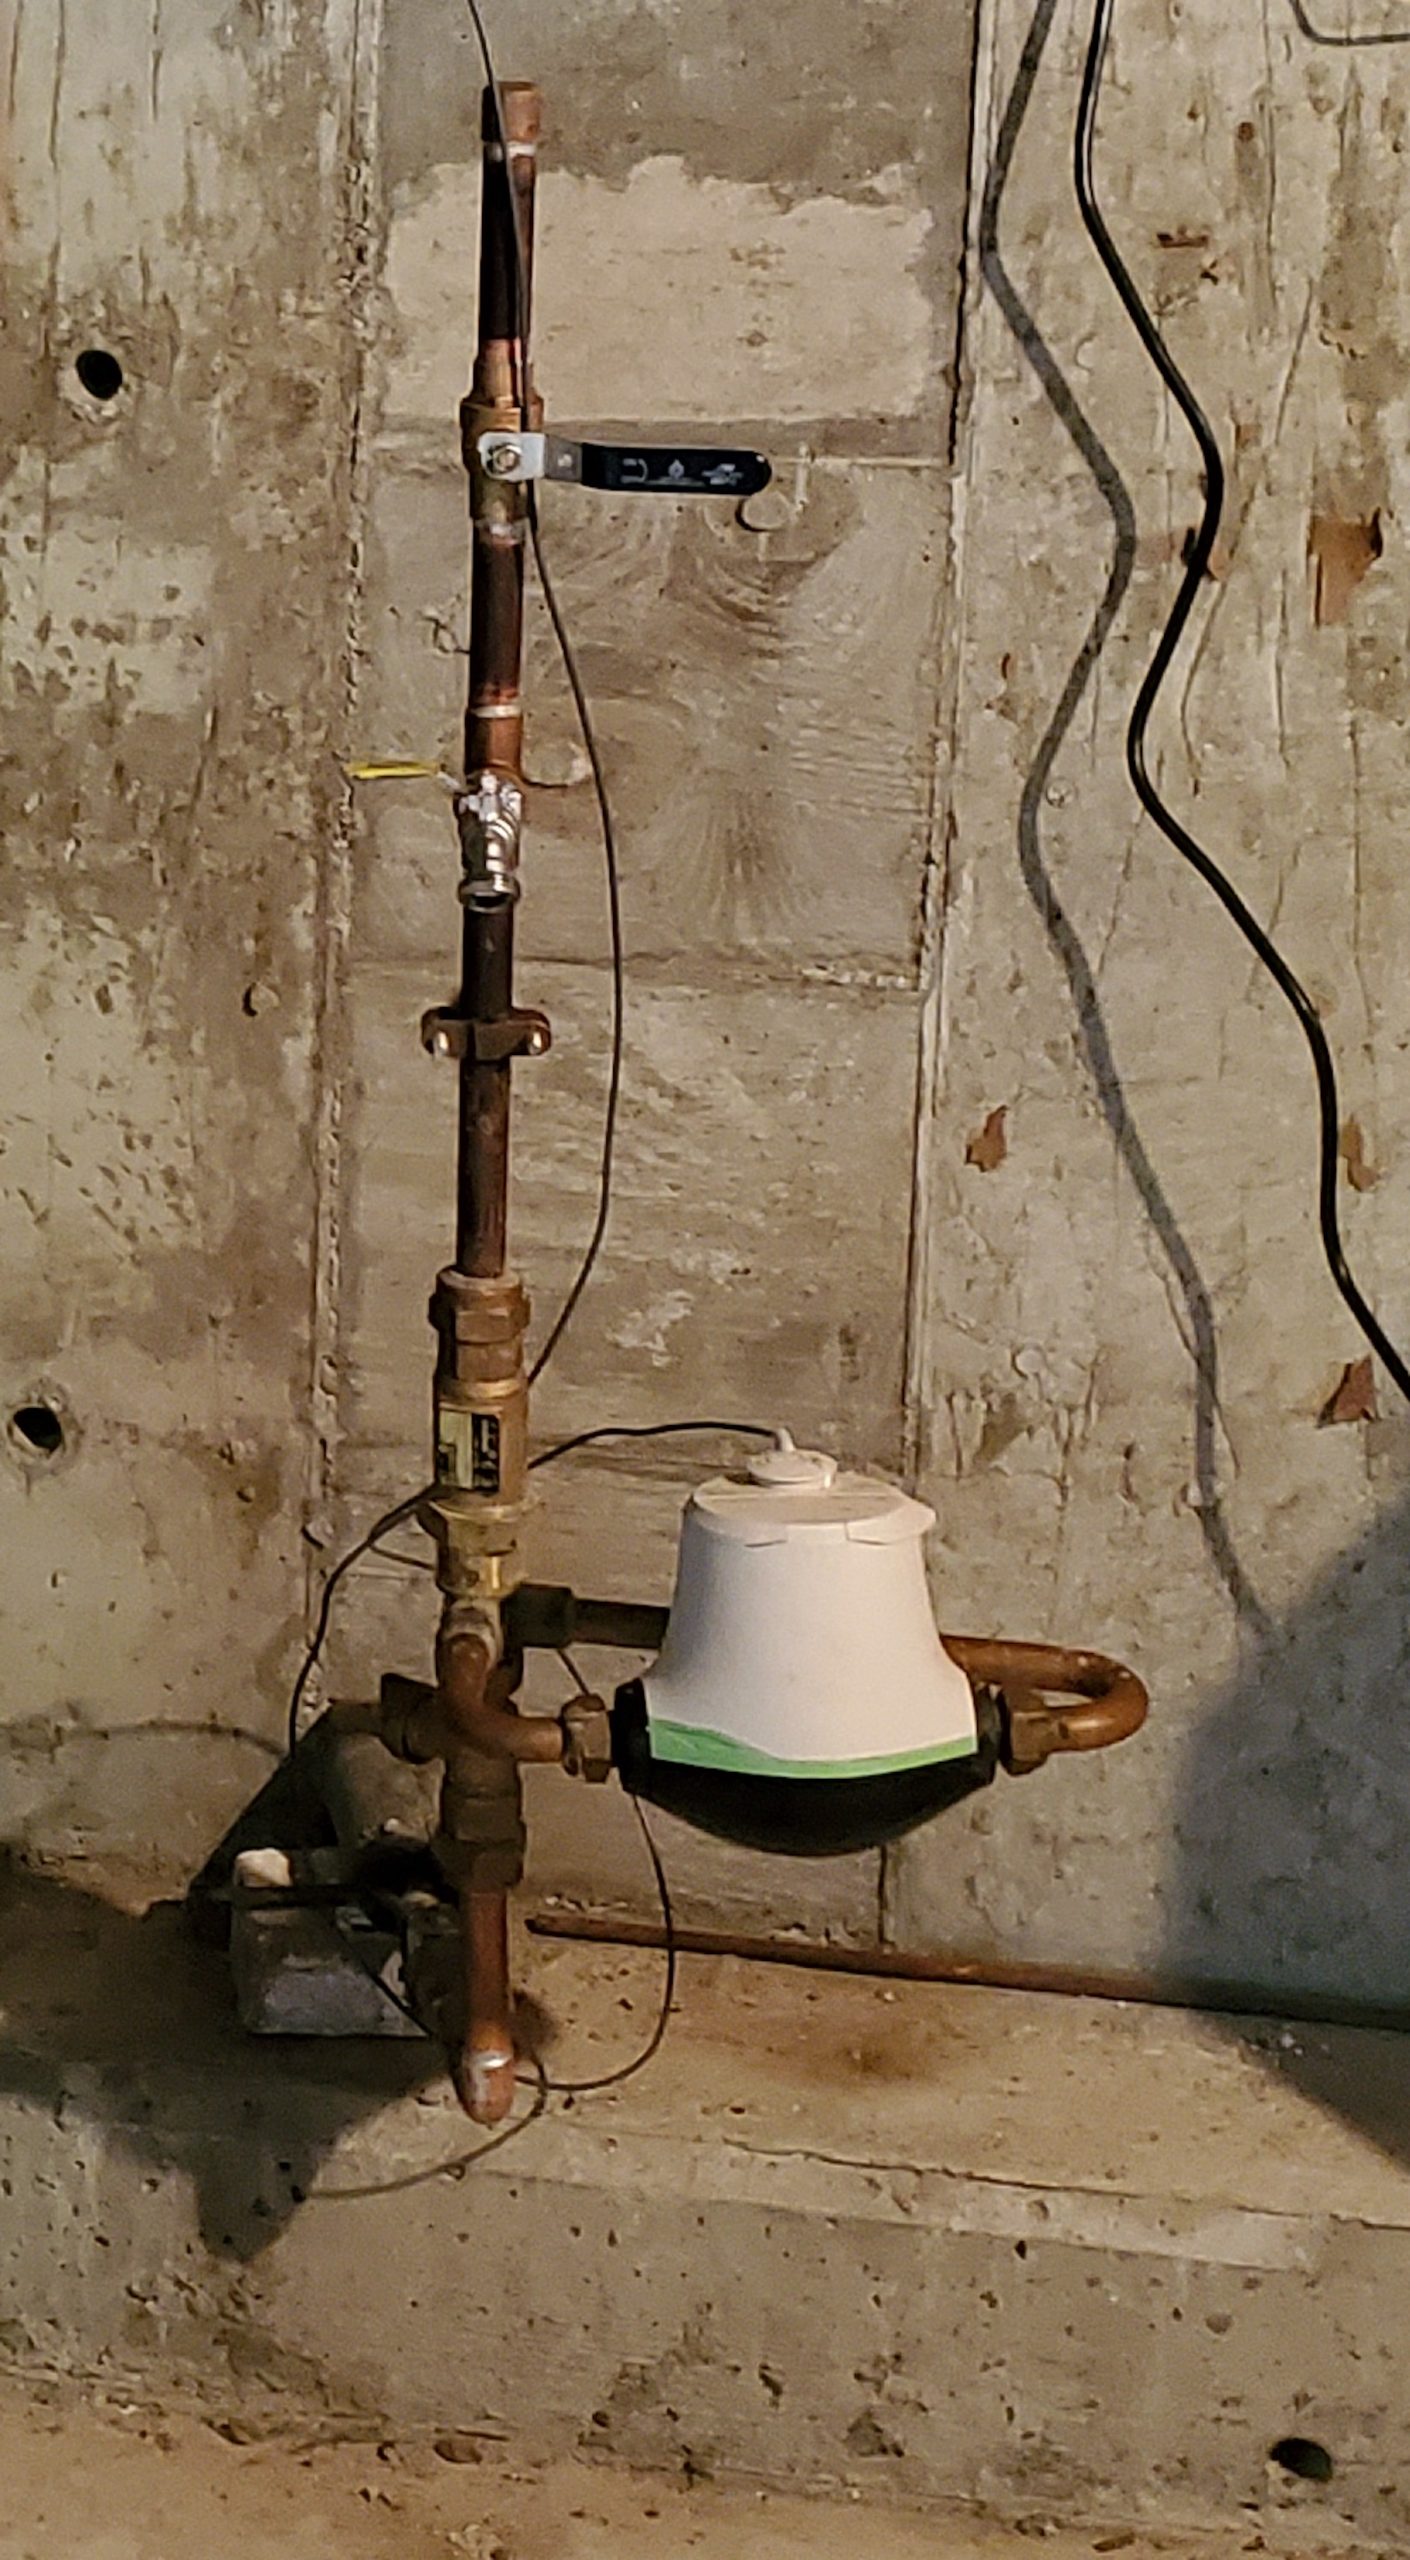
They then examined the meter horn more closely (the meter horn is the part of a plumbing system that holds the water meter in place). They discovered it had broken. In fact, when they took out the unit, parts of the backflow arrestor literally fell out on the floor.
Here was ours.
Brian and Andrew thought they had a spare arrestor at the Water Department, so they went to get it. When they came back, they told us that Rusty Cross had instructed them to just to go ahead and replace it.
Normally, once the water system goes past the curb stop, it’s the homeowner’s responsibility for any repairs. Rusty’s crew kindly took care of all that for us.
After they replaced the backflow arrestor, the pressure went up to a strong working volume. After that, the outdoor shower worked just fine.
Pulling up the Floors
The next big step involved putting in the rough plumbing. To get things ready for Ray to do the work, I had to take up the old bathroom floors and frame in both rooms.
The First Floor Bathroom
The downstairs bathroom floor had three layers, starting with the original subfloor and a finished pinewood floor. Both would have been laid by John Hayes Thompson judging by the fact it’s identical to the rest of the house’s flooring. Both had also gotten fairly chewed up over time, leading a previous owner to cover them with a tongue-and-groove maple hardwood floor.
Pictures from Prentice Hammond, the house’s previous owner, show that the room itself had suffered from extensive water damage during another previous ownership. Fortunately for us, Prentice and his wife Deb had removed all of the old paper, plaster, and lathing, but the maple floor was still damaged.

I had to take everything down to the original subfloor.
Some of the maple floorboards were nine feet or longer. If you buy a bundle of flooring today, you’re lucky if you get a decent number of five-foot pieces. Nine-foot lengths are unheard of. Unfortunately, the boards were in such bad shape that I couldn’t salvage them.
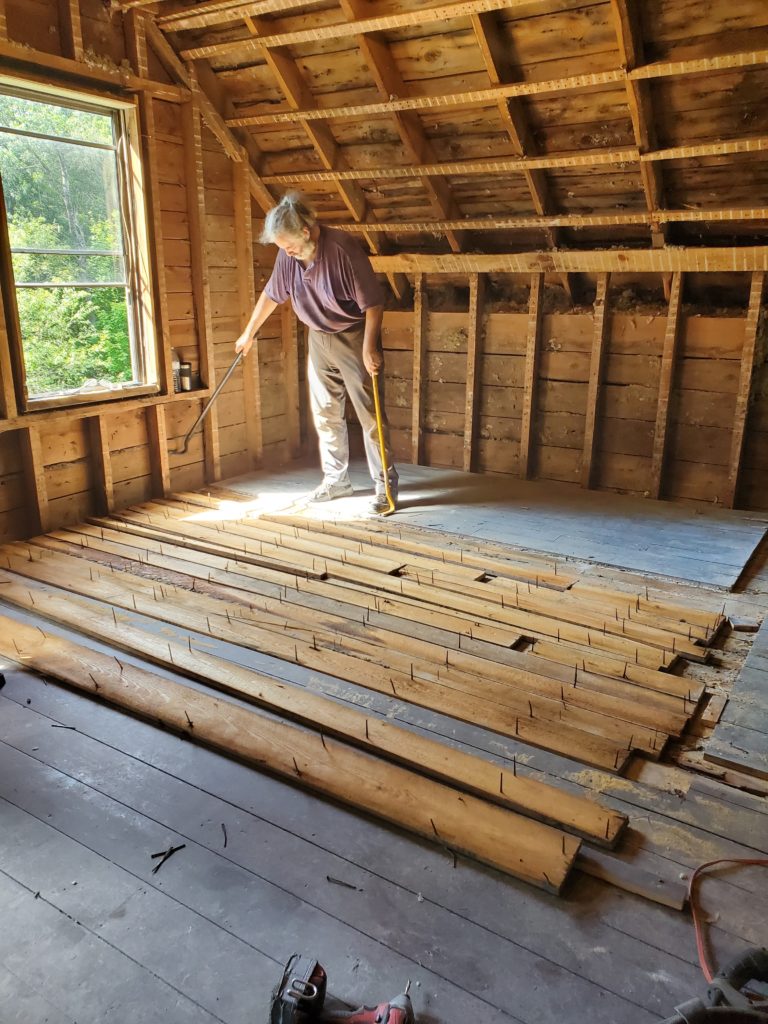
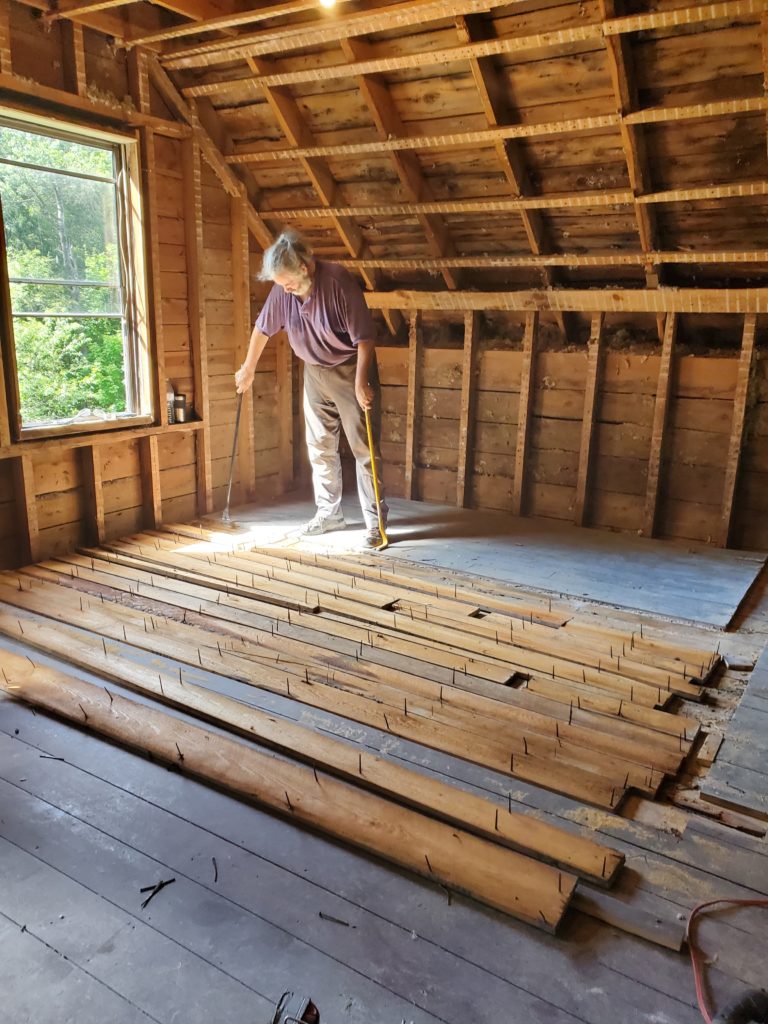
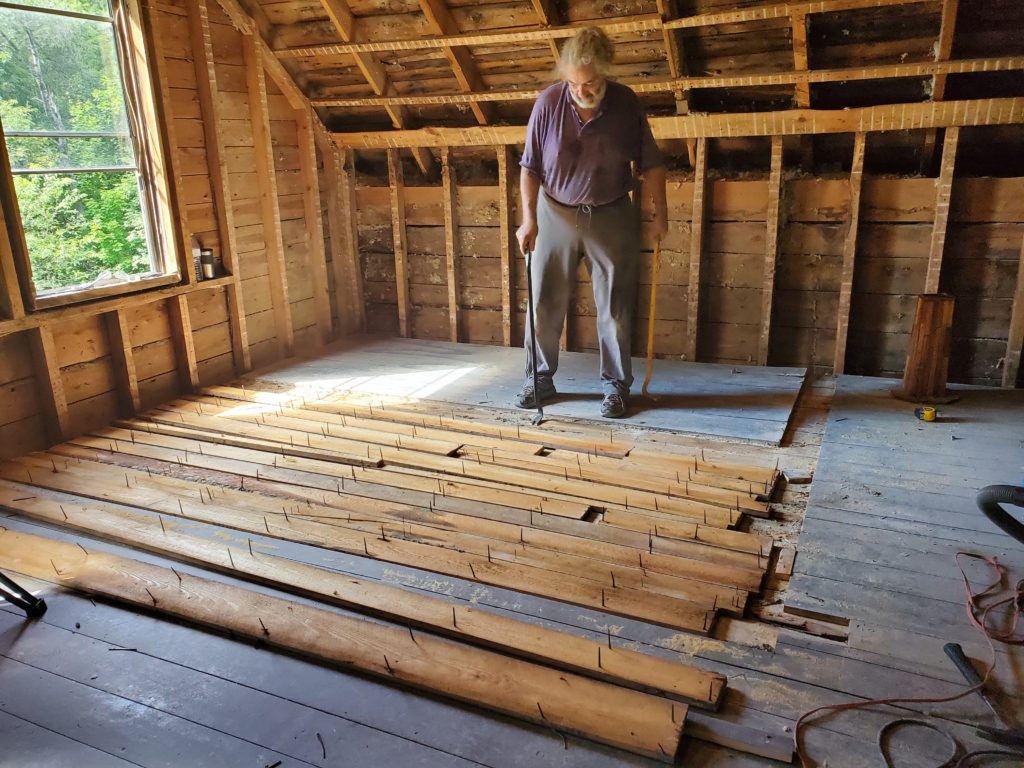
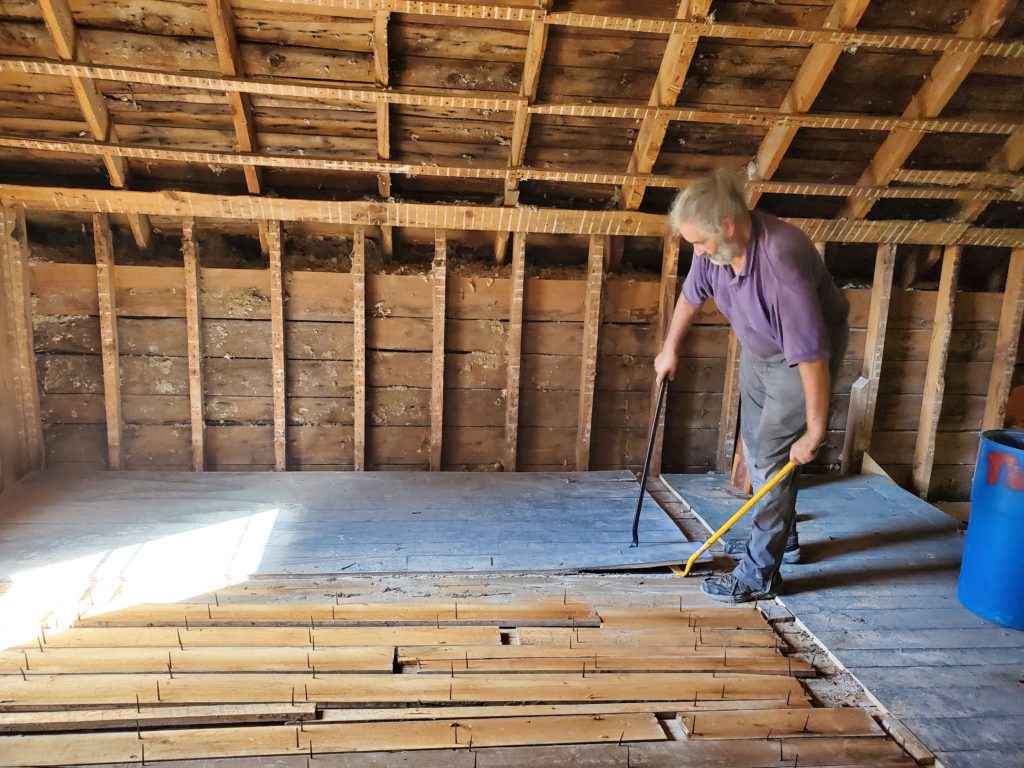
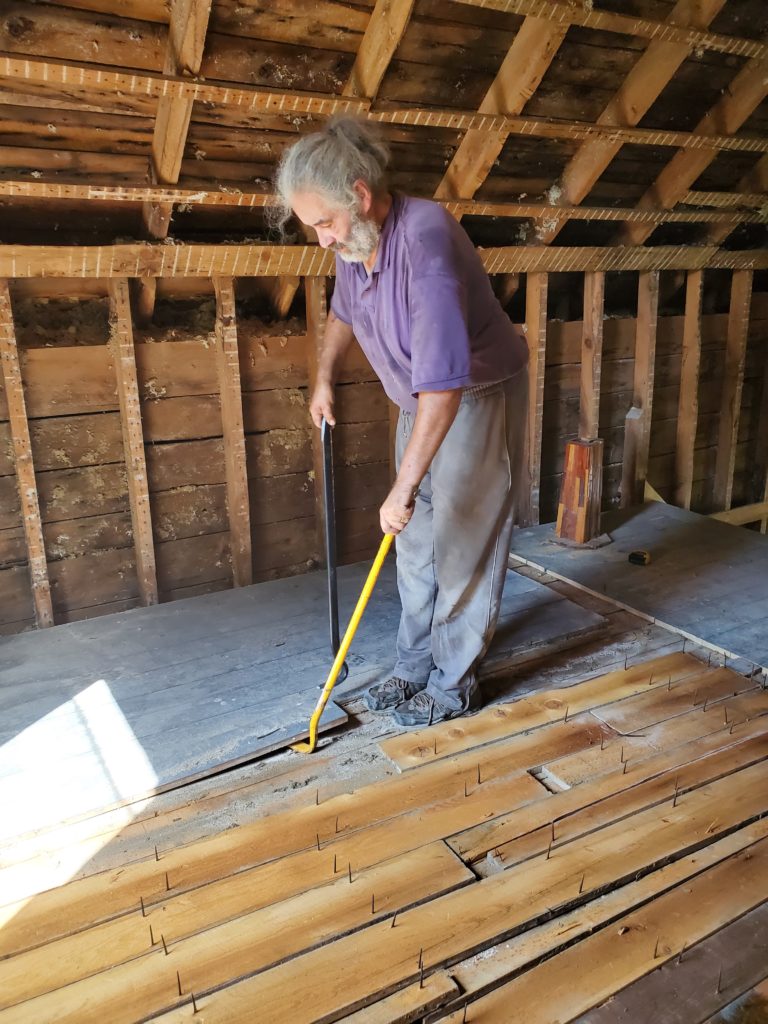
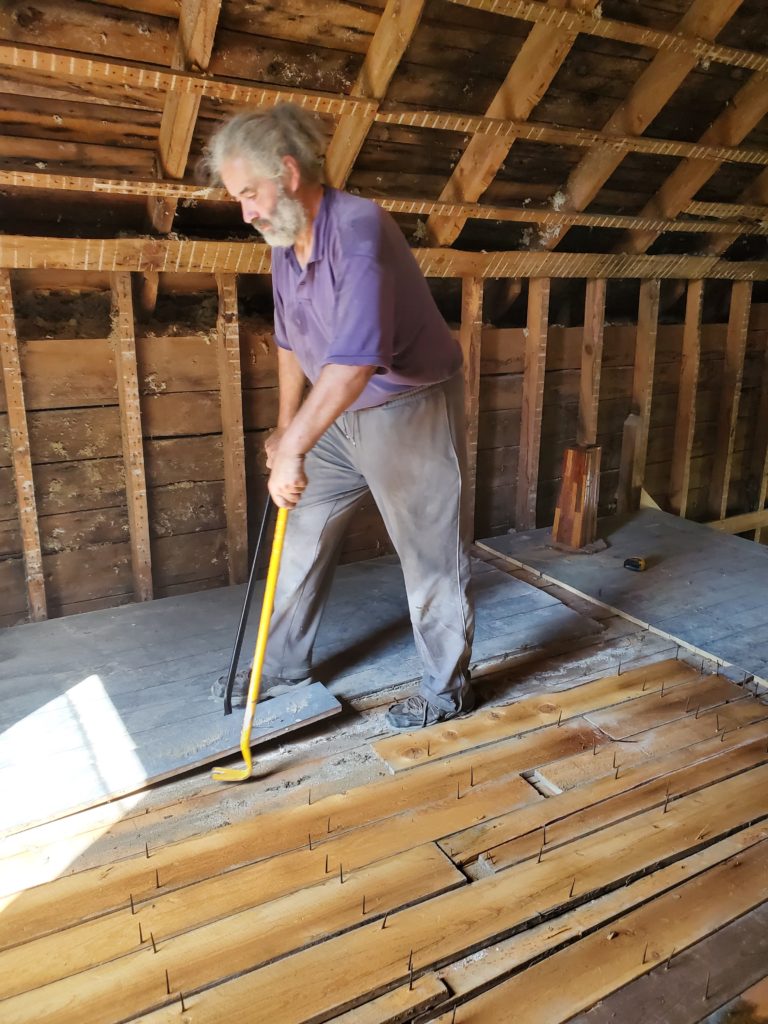
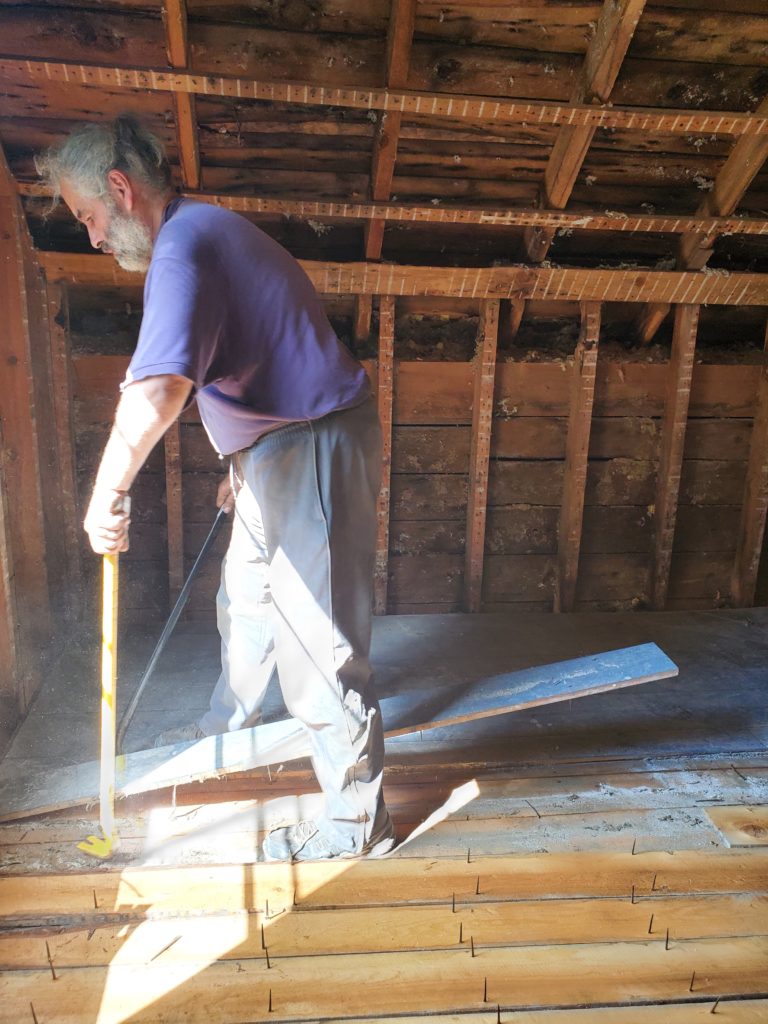
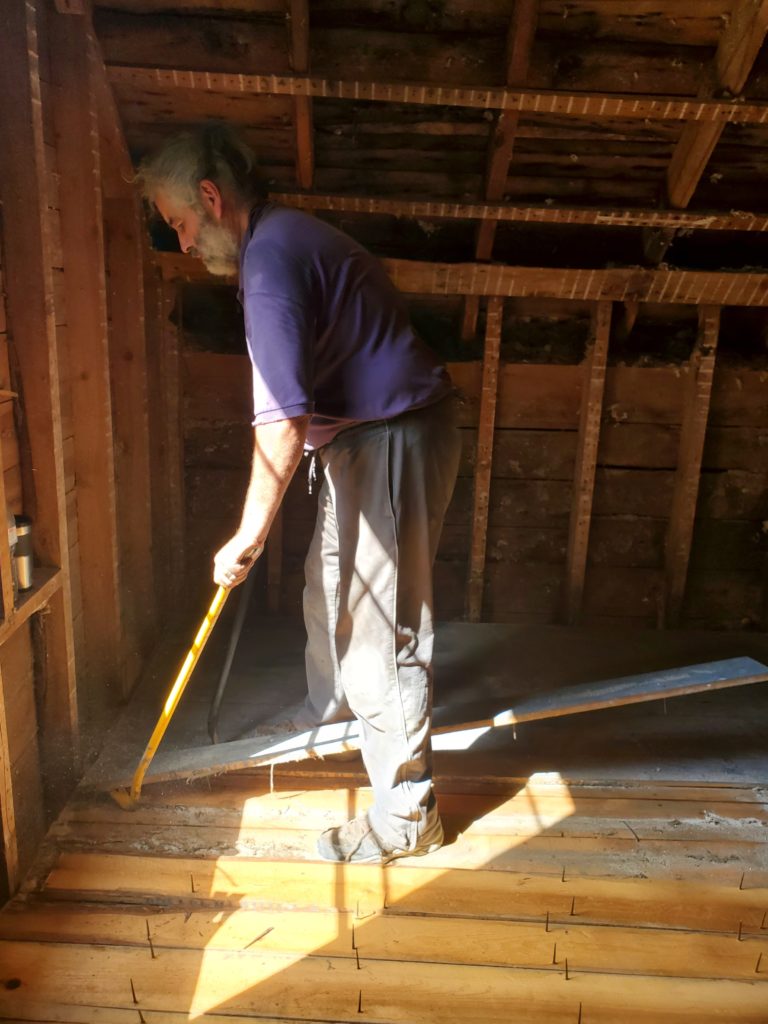
After removing the maple, I started in on the the original finished pinewood floor. It was at that point I discovered that just about every single nail had rusted and frozen into the lumber. It took me a day just to pull them all out.
Part of the difficulty lay with the tool I was using. Several years back, I had owned a Gorilla bar—a powerful crowbar that makes it easy to pry things out. However, it had gone walk-about around the time a previous shop-mate had moved out. I only realized it was missing right when I next needed a wrecking bar.
The “Big Box Store” carried the DeWalt equivalent, which was not as well designed. The DeWalt bar worked perfectly well on modern framing nails, which have wide, flat heads. But it could not grip old cut nails well enough to keep the head from slipping through the claws.

Even when it did grip well enough, the nails were often so rusted that the heads just snapped off.
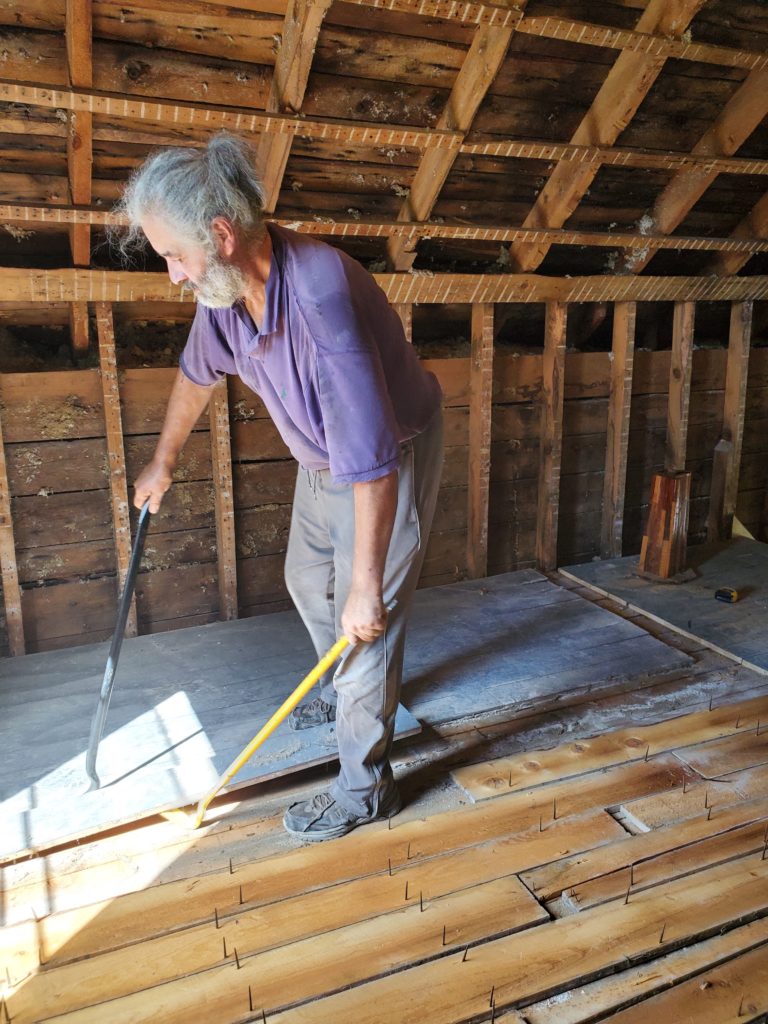
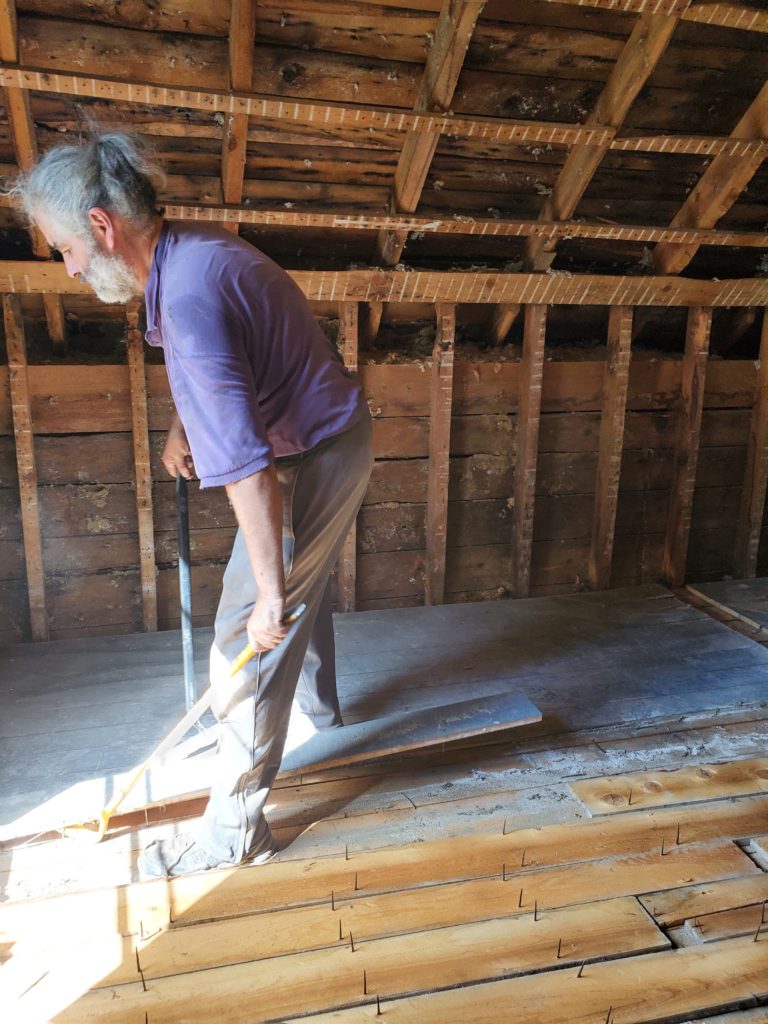
I ended up having to use a “Cat’s Paw” based on a Japanese design.
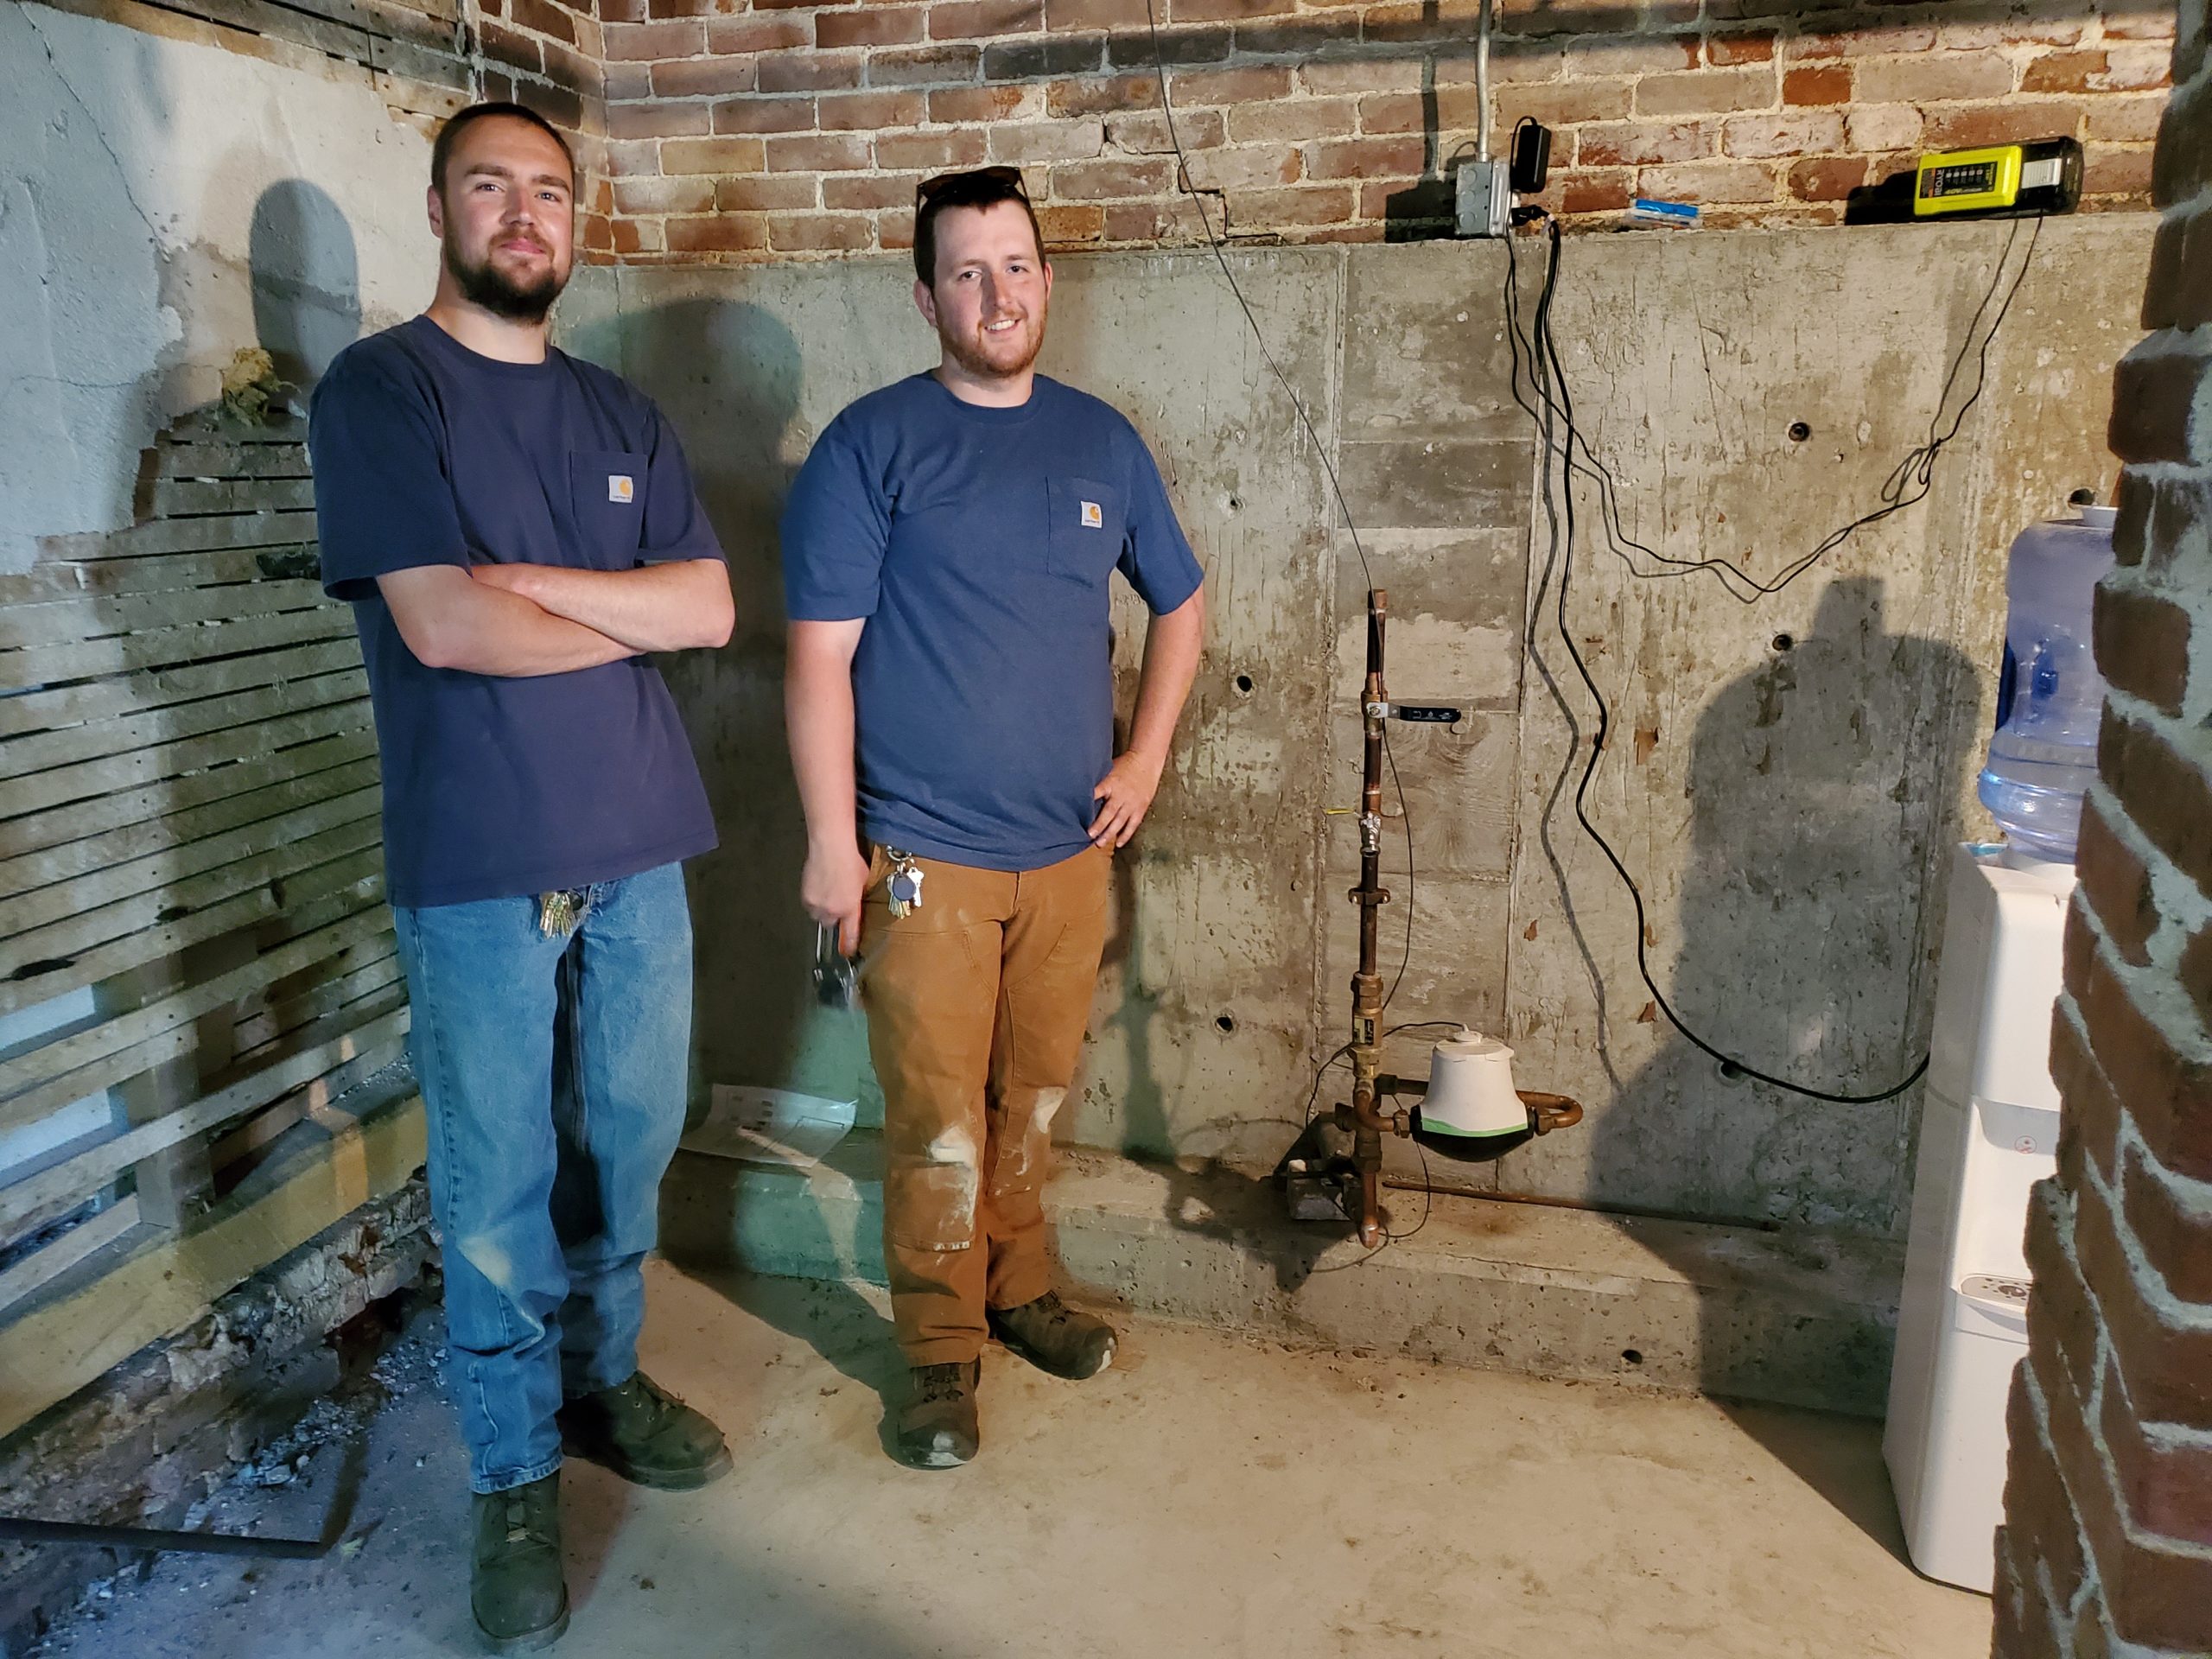
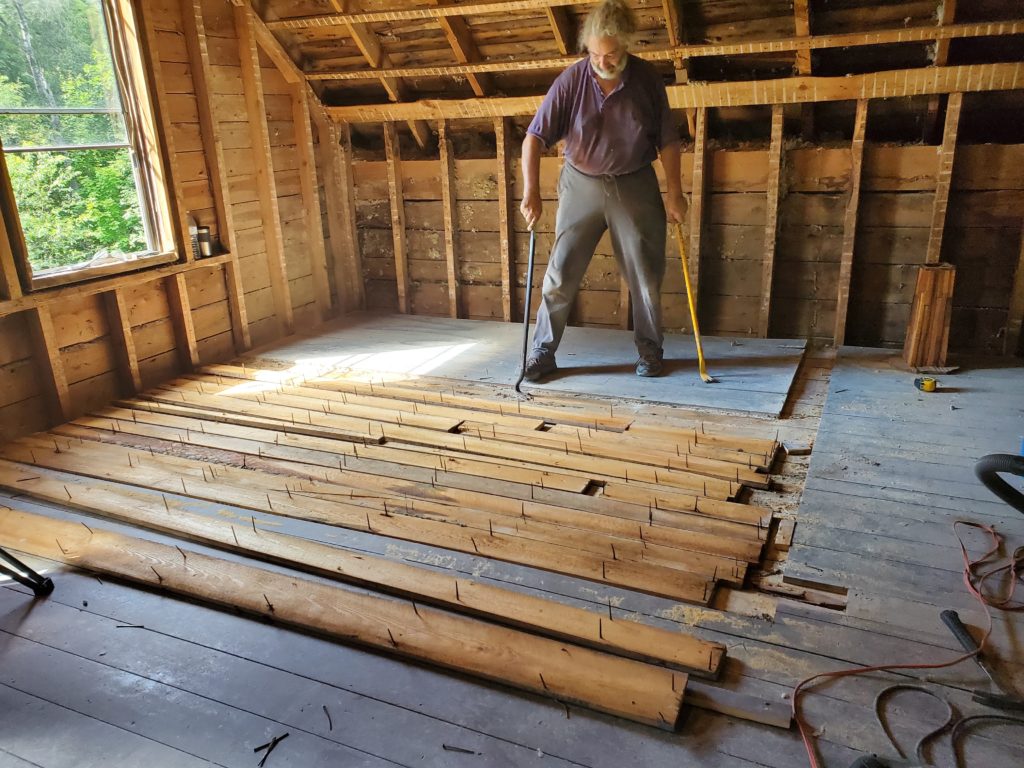
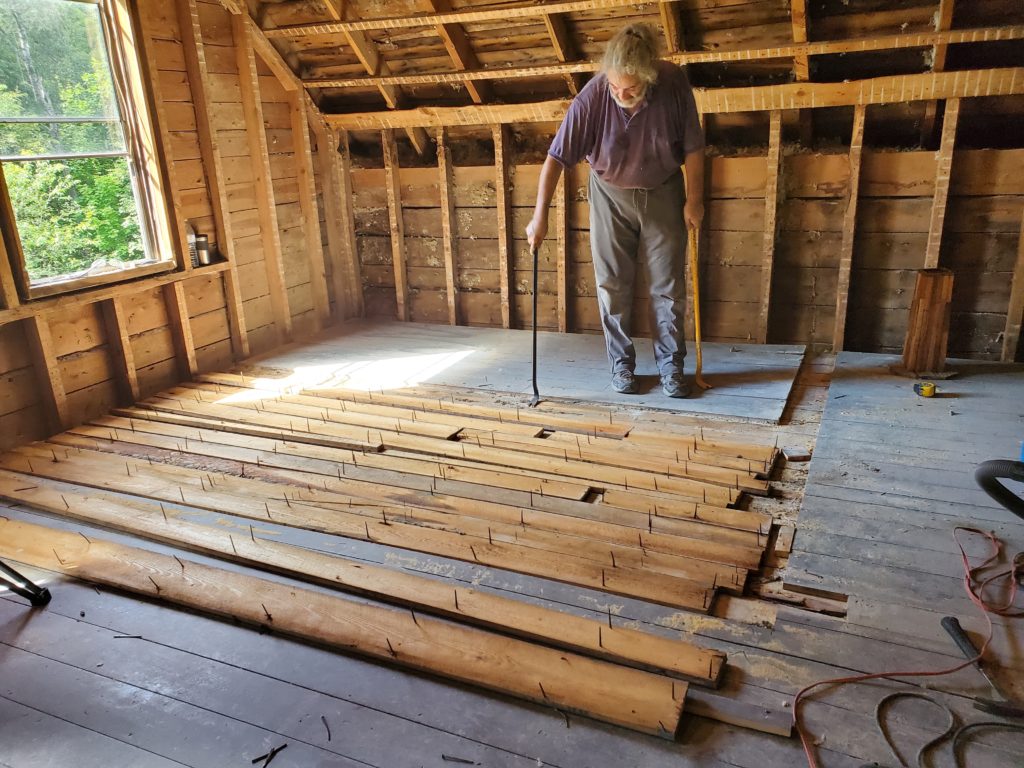
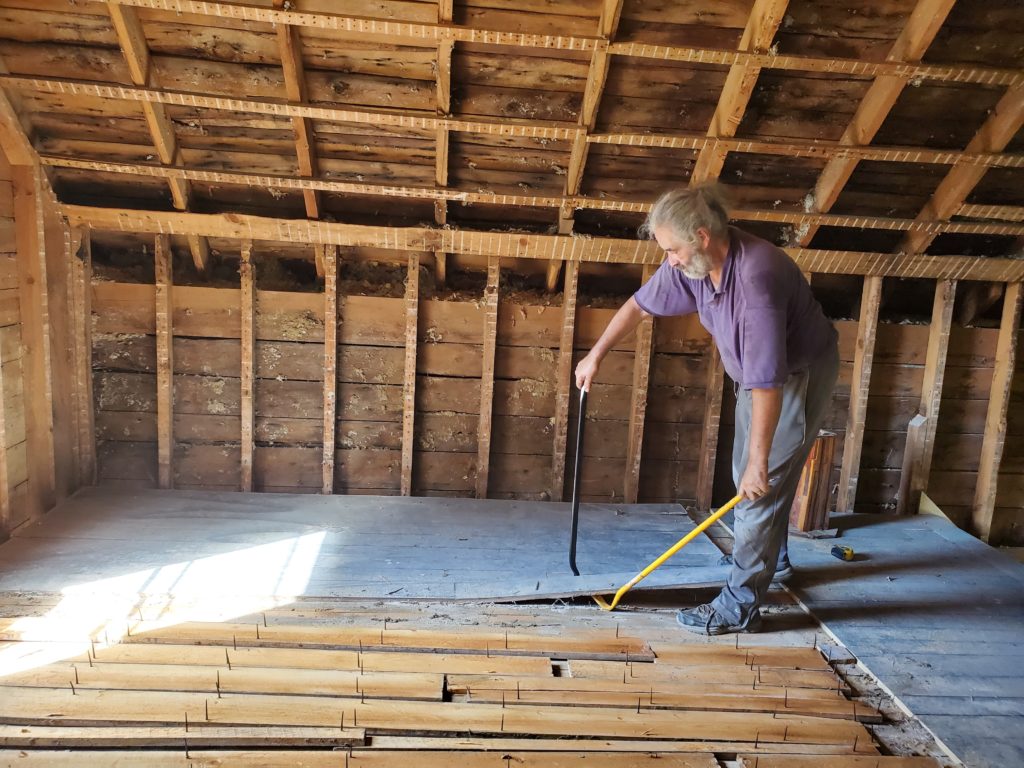
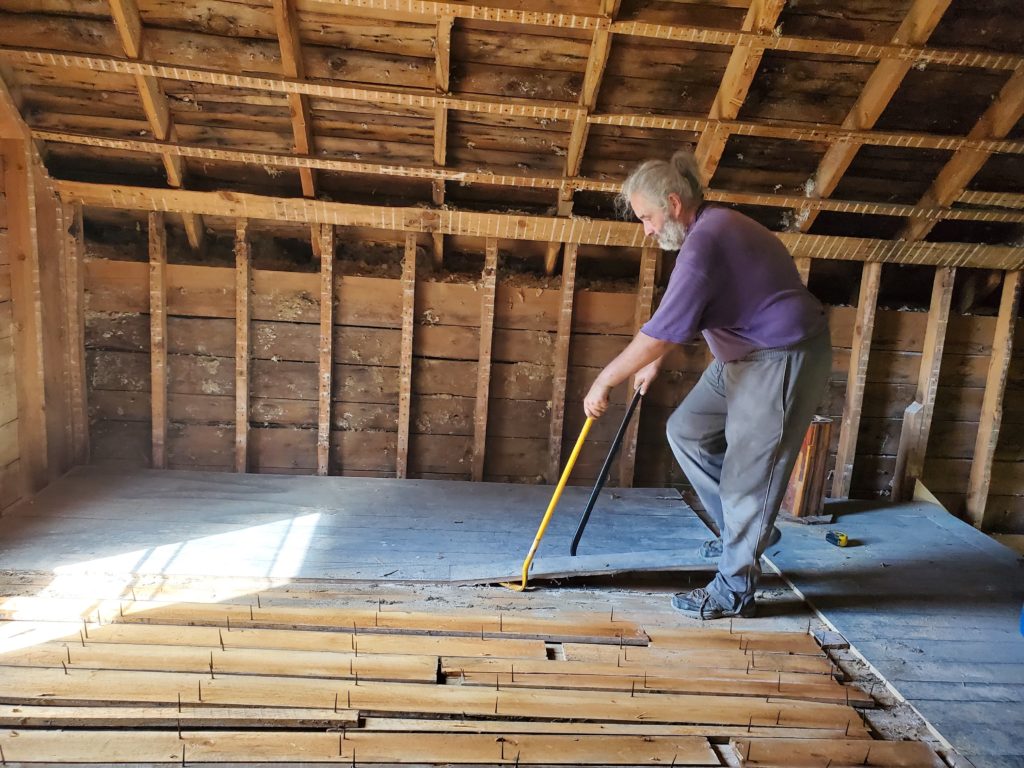
The claws are sharp enough that, with a couple blows from a hammer, they can bite into the softer steel of the nails. That let me get a grip on the nails themselves. However, a catspaw bar isn’t long enough to provide the leverage you need to extract a nail rusted in place. That meant I also had to hammer on the bar to break the nail’s grip in the wood. It took forever. Or a day.
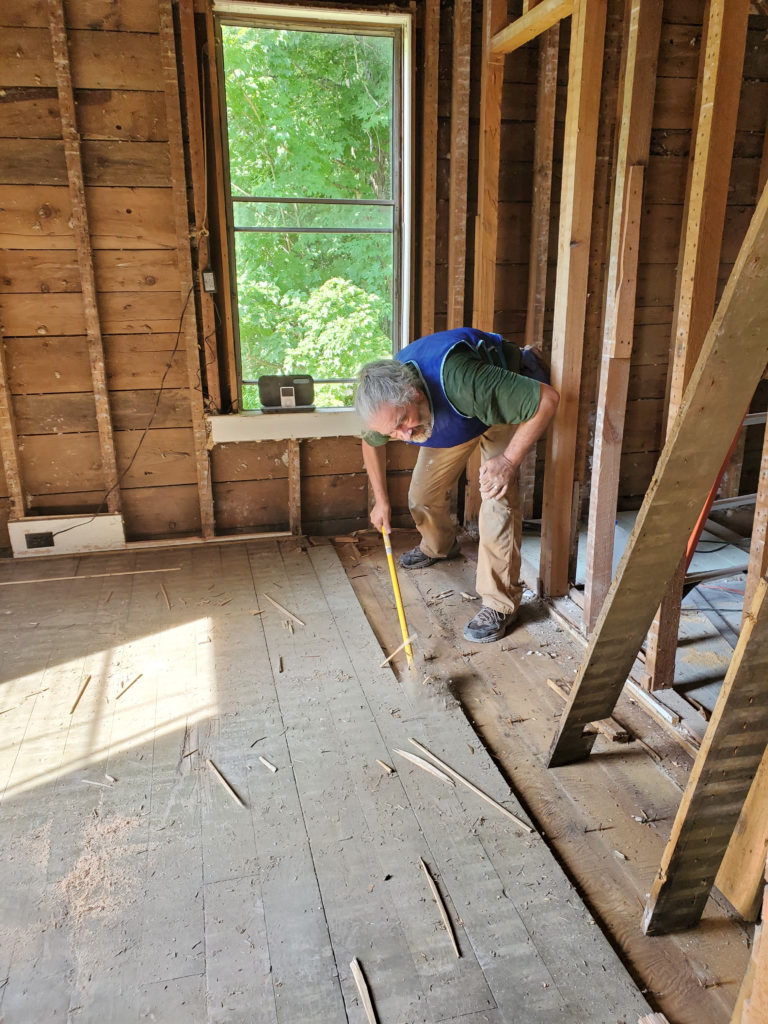
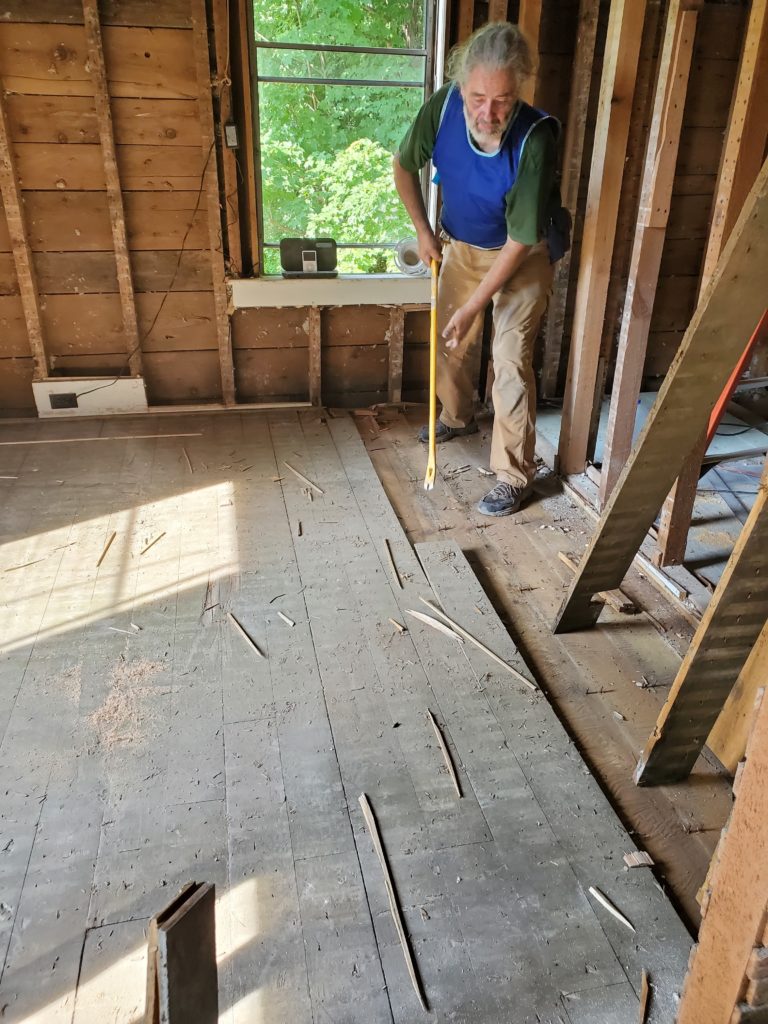
You can see that I don’t look happy. I wasn’t.
Still, I finally got everything removed down to the subfloor.
The Second-Floor Bathroom
The upstairs bathroom was a different story. Having witnessed my frustration with the downstairs (and overheard a fair amount of cussing on my part), Linda tracked down a Gorilla bar for me. It made all the difference. I could use it in tandem with the DeWalt wrecking bar, which made everything go not just faster, but actually fast.
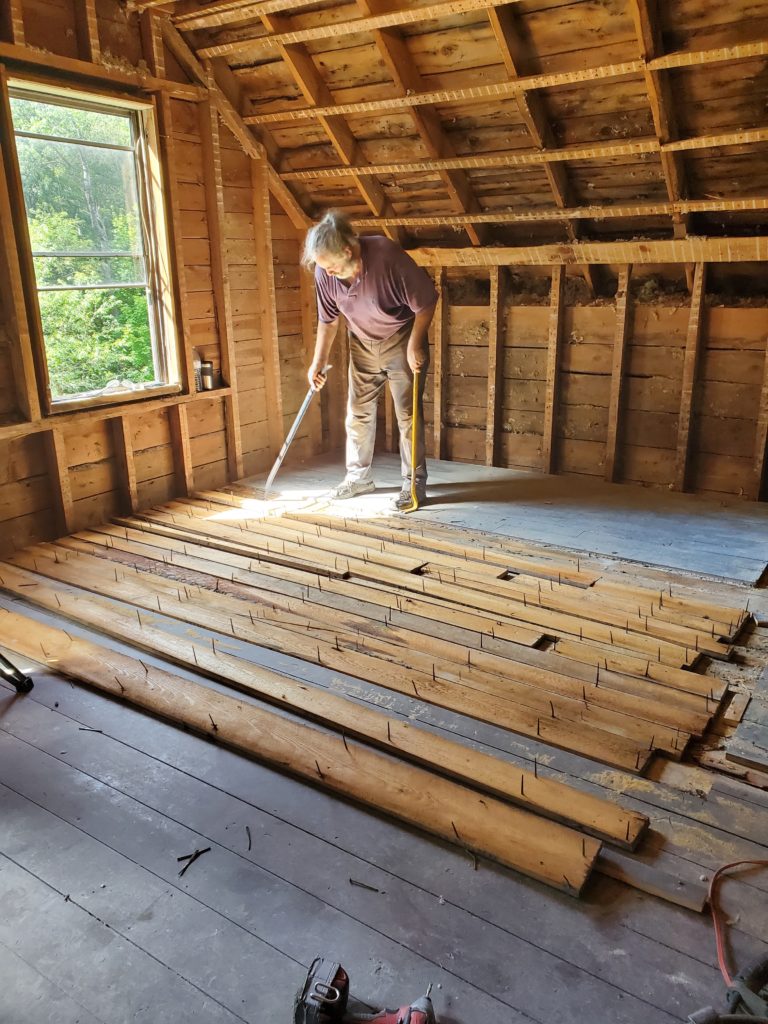

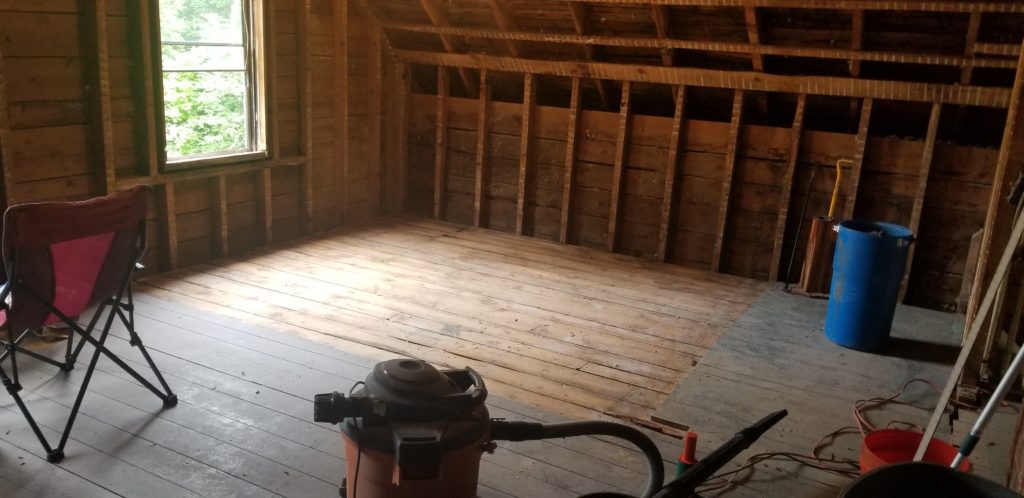
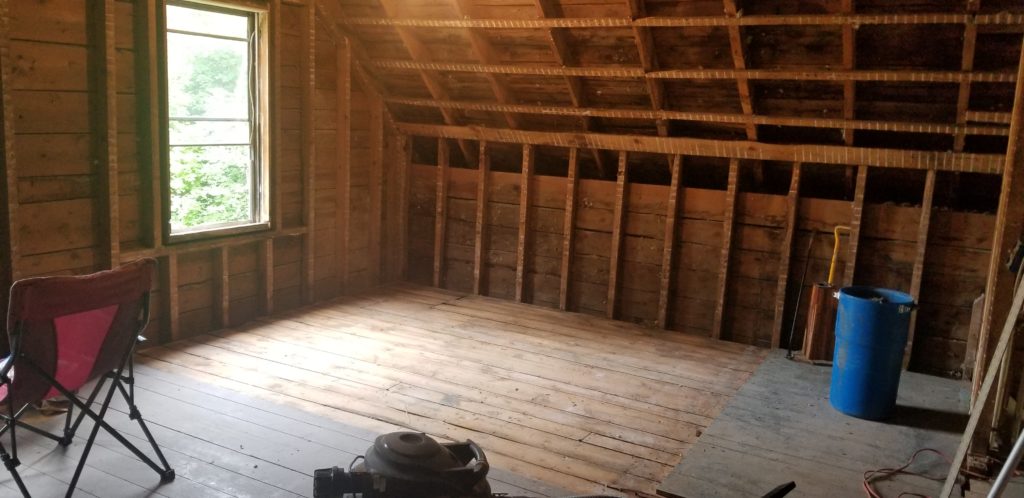
All done.
Plumbing in the Works
Ray installed the rough plumbing throughout the house. In the basement, this created a whole network of pipes.
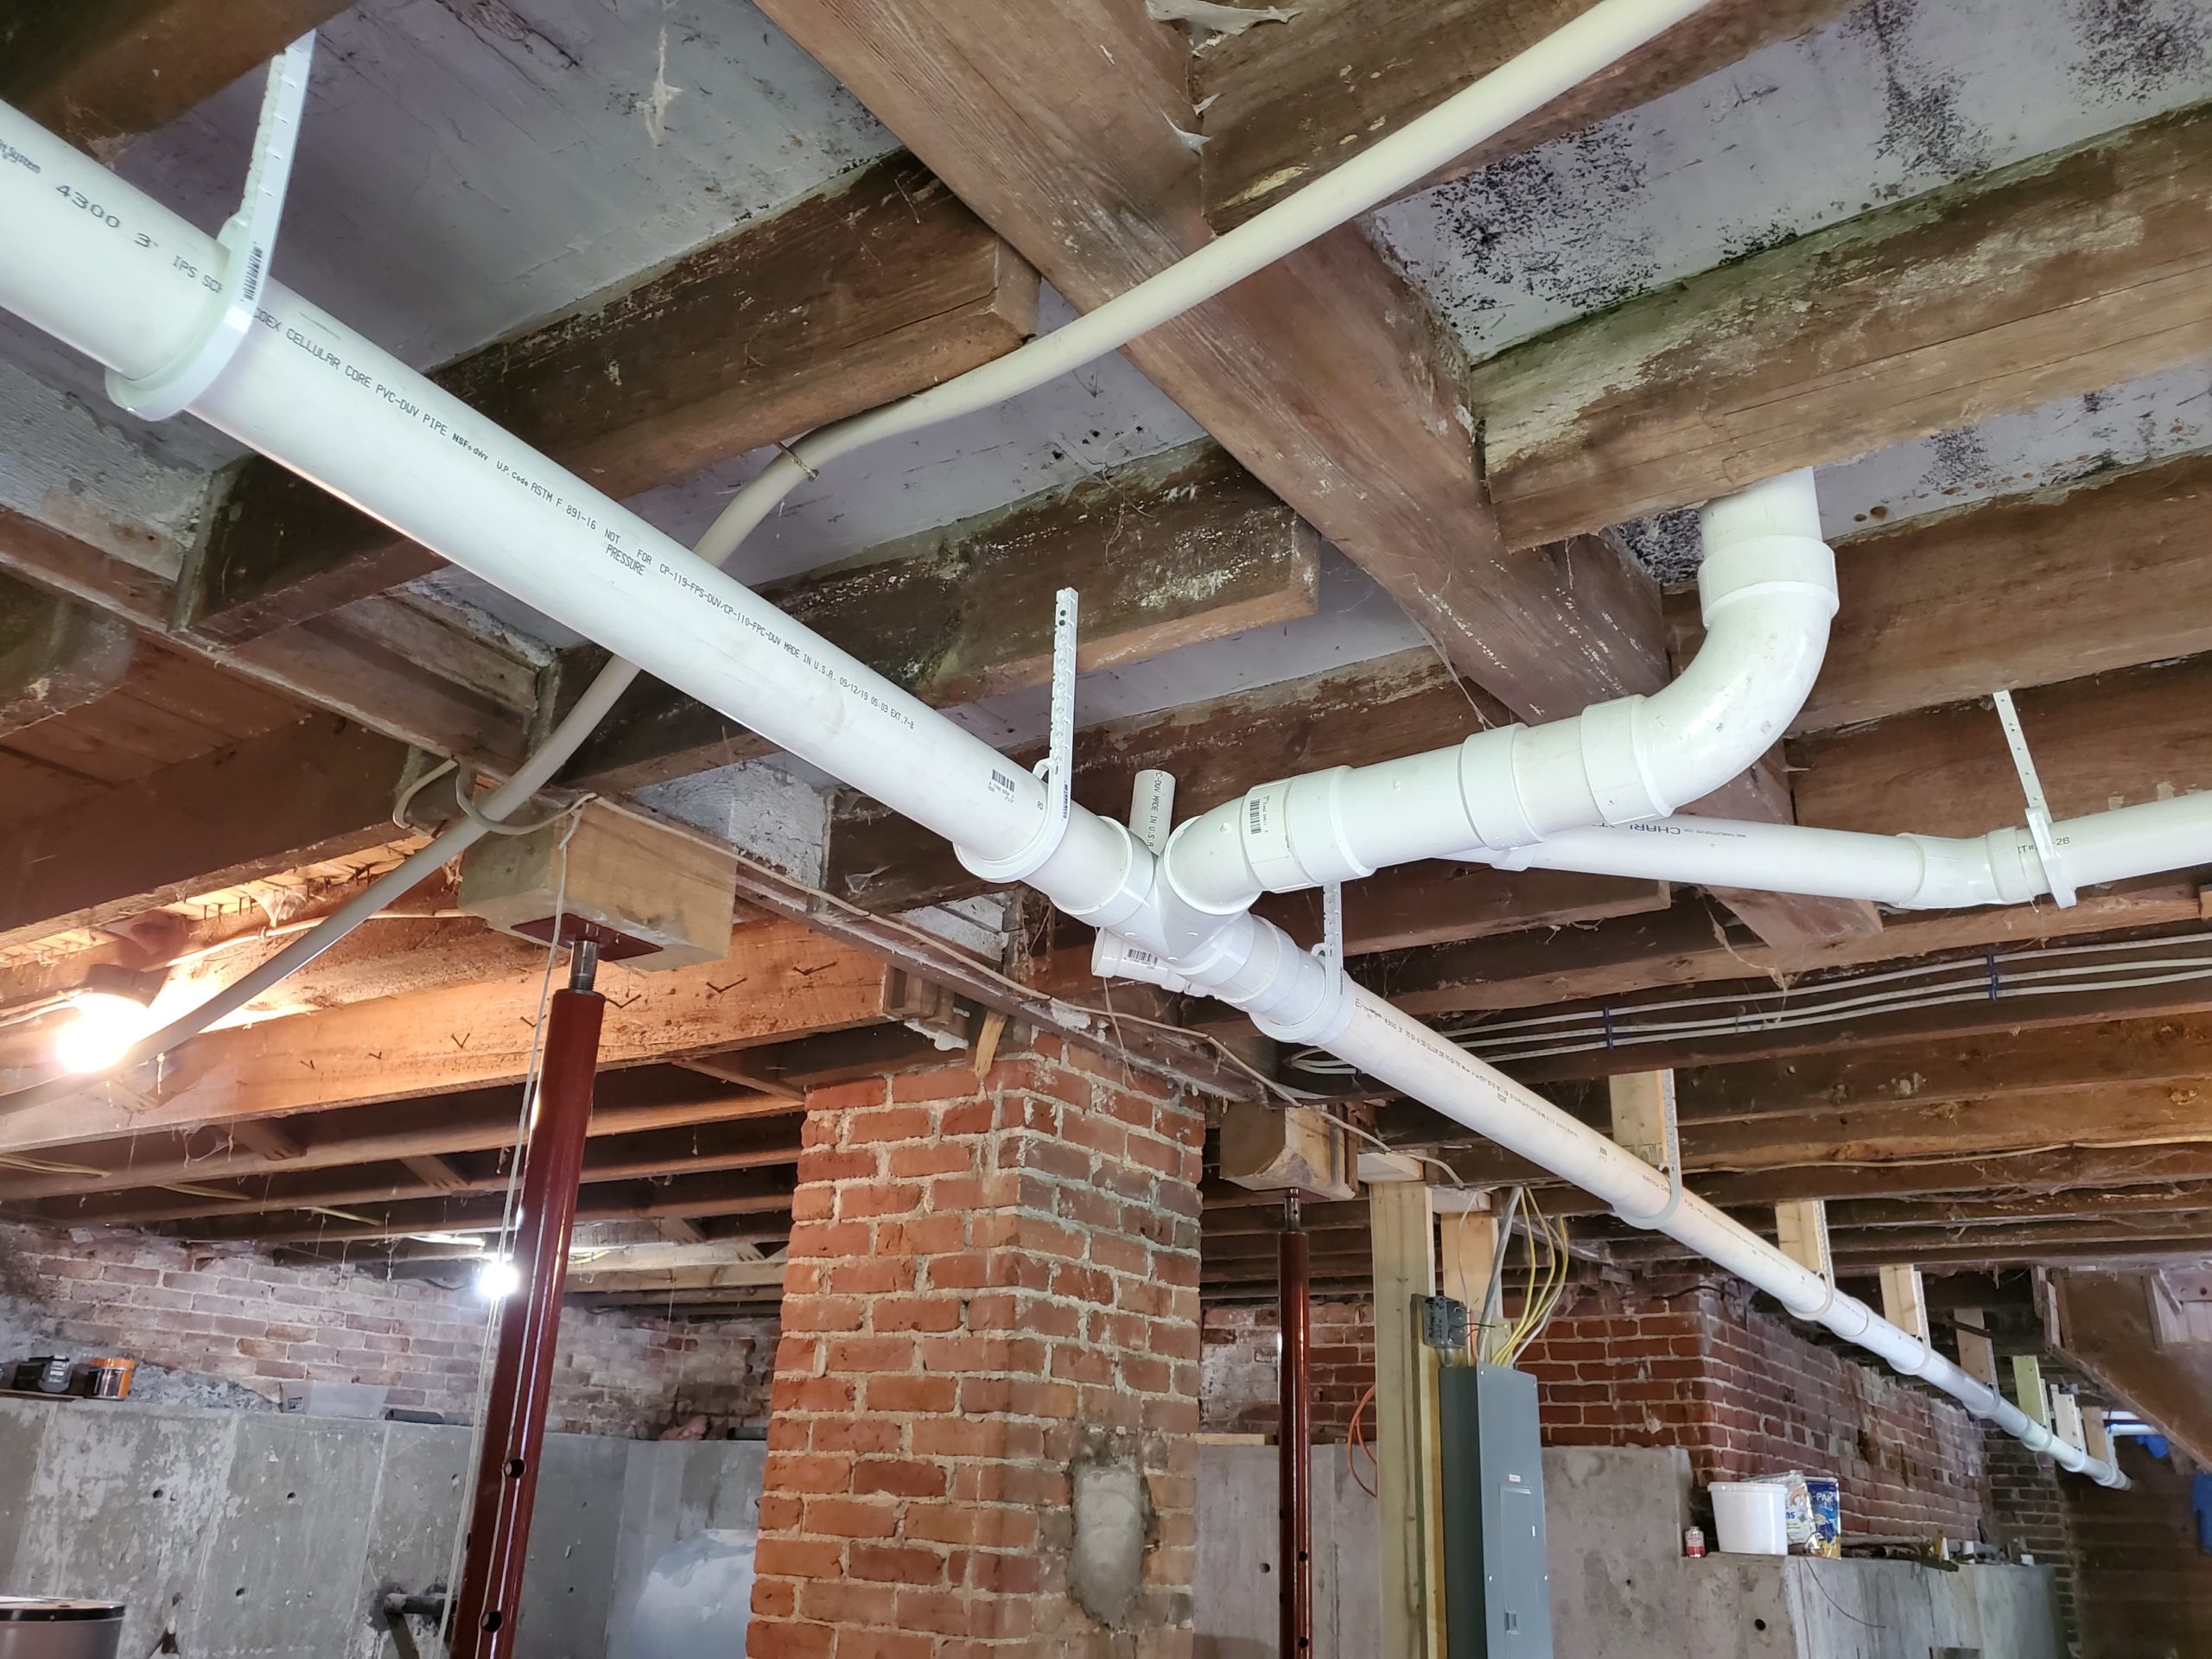
First Floor Plumbing
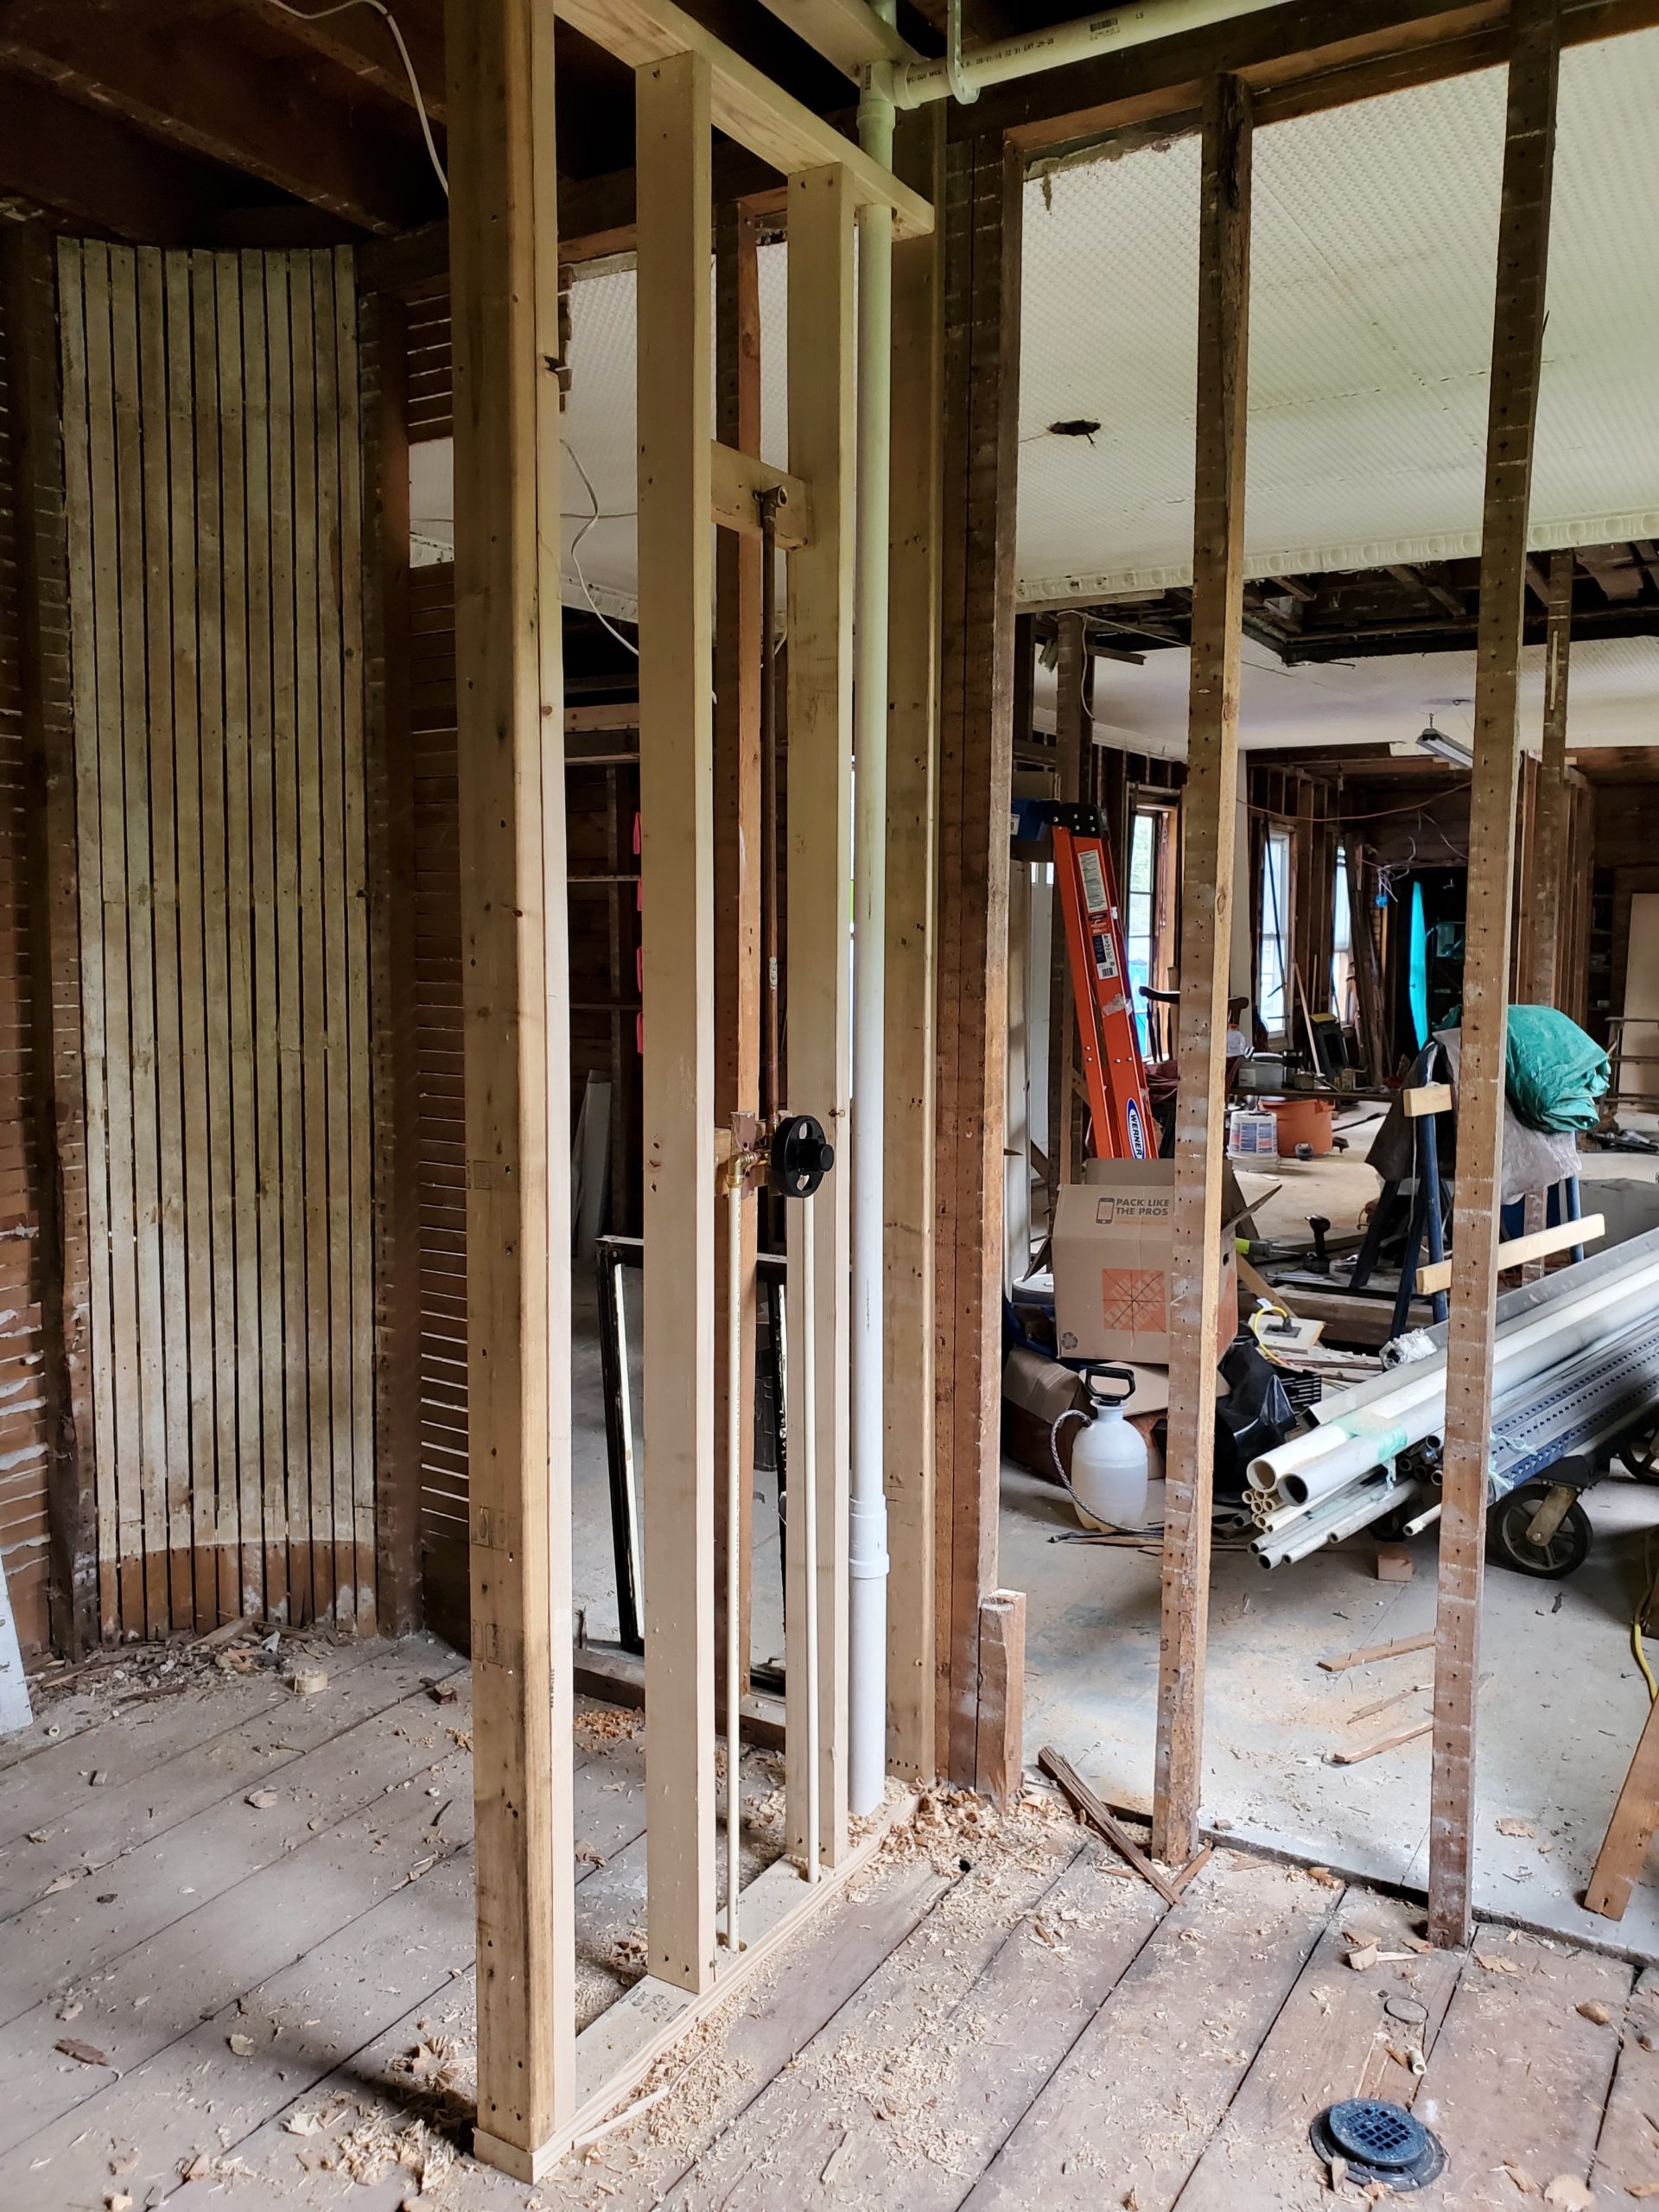
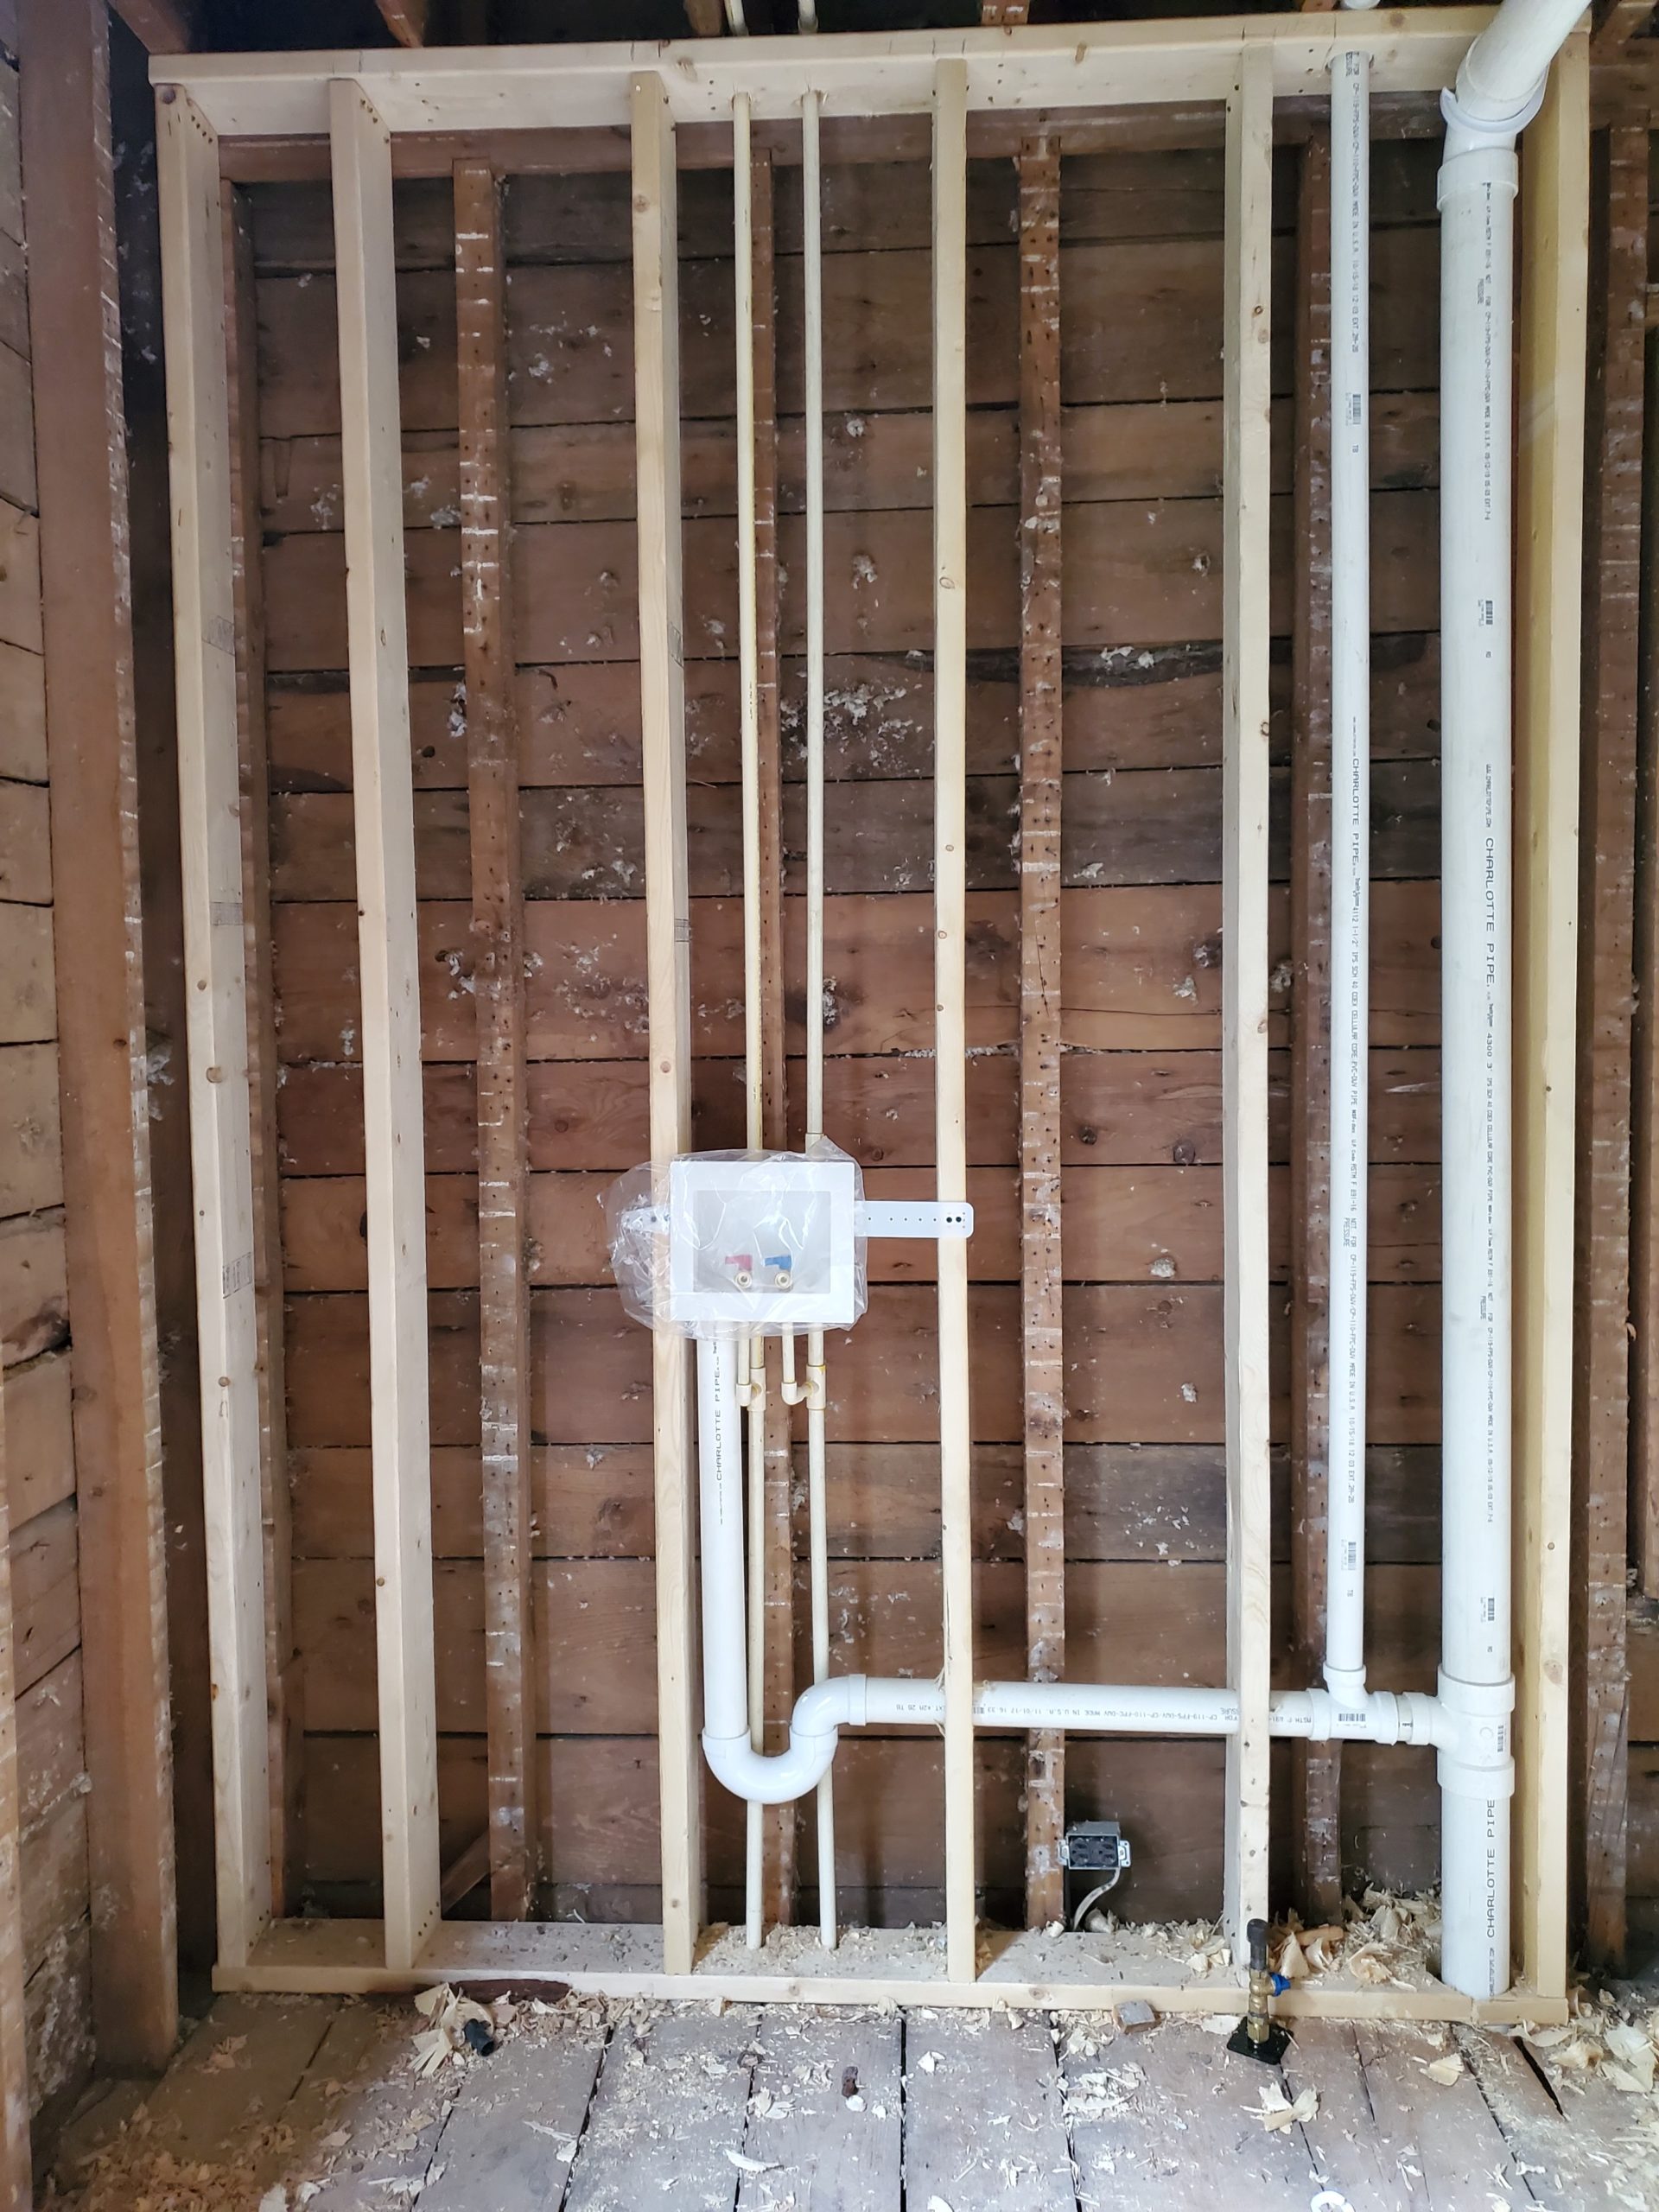
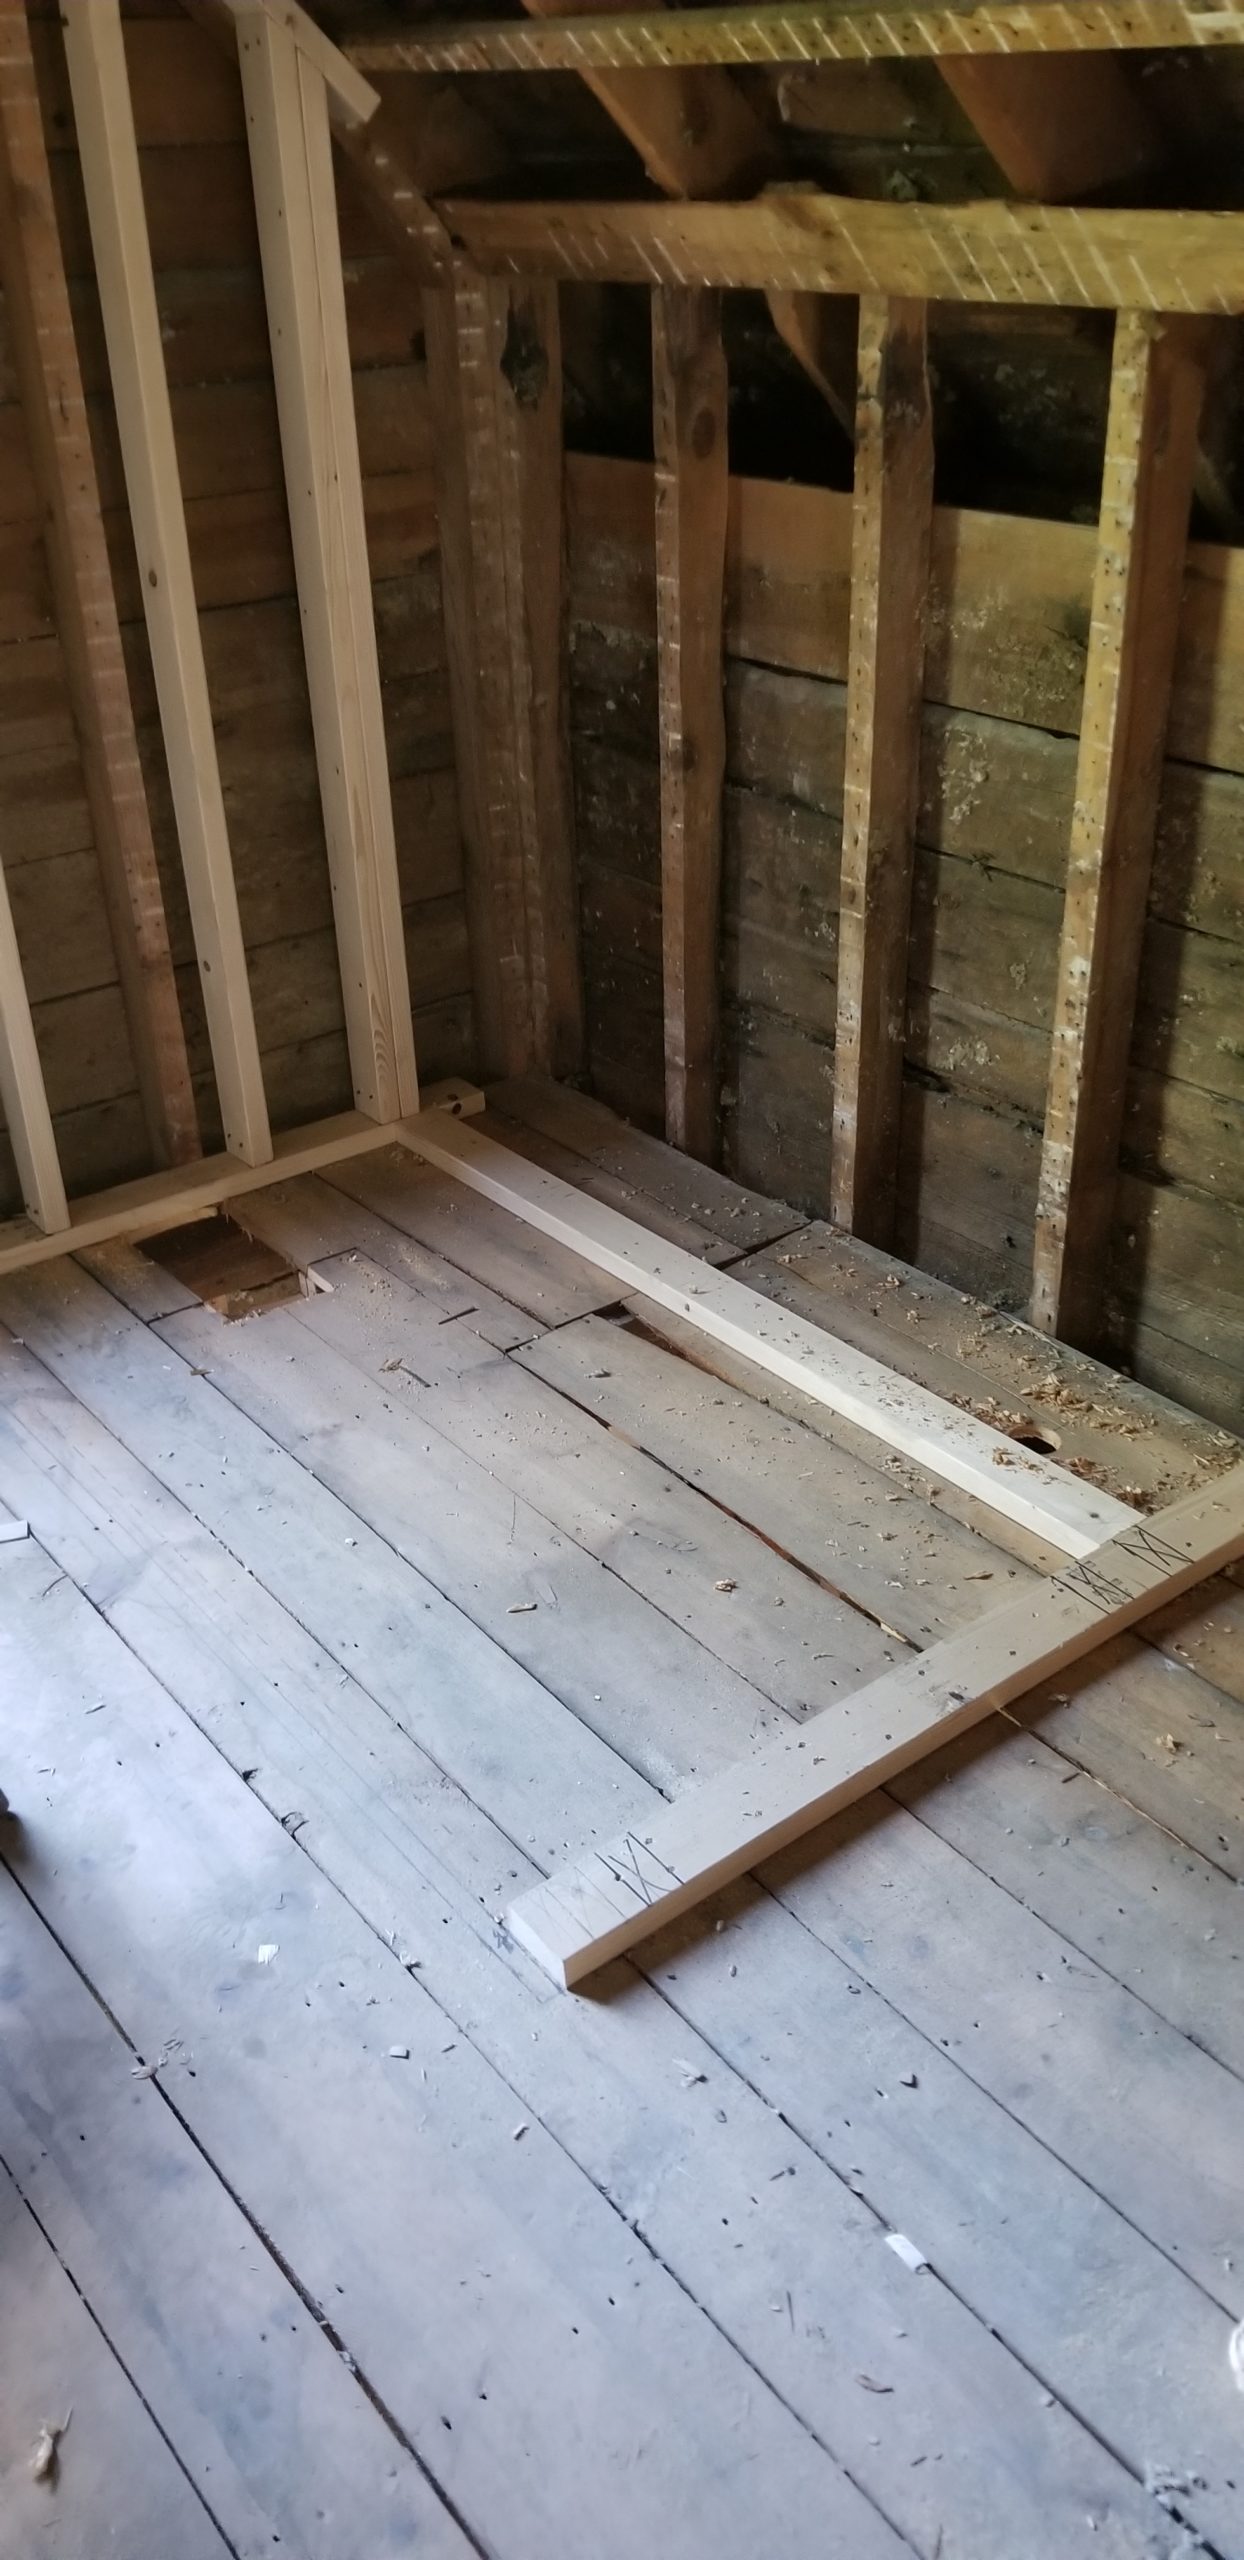
To create the framing for the first-floor shower. I couldn’t use the salvaged wood, because it measured two-by-three inches, and wasn’t big enough to drill the holes for the drainpipes to pass through.
The eventual tiled floor of the bathroom will create what is known as a “curbless shower”. These showers have nothing to step over, and therefore nothing to trip on. The idea is to reduce the risk of falling, and to deal with the possibility of reduced mobility.
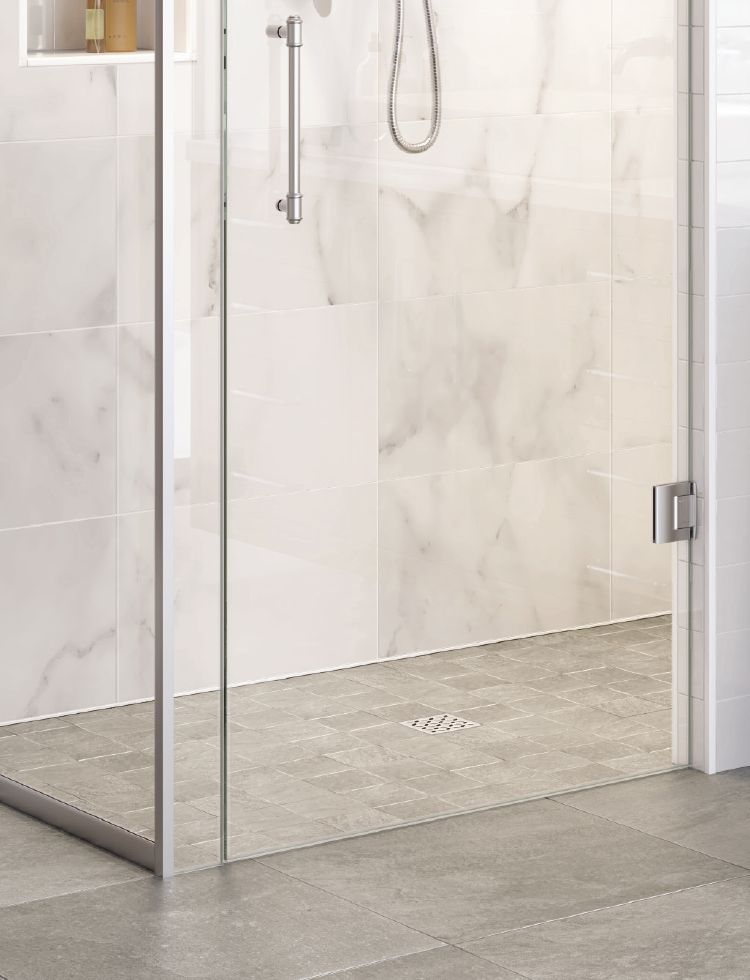
If either of us ends up in a wheelchair at some point, or finds it difficult to lift our feet, this shower will let us walk (or roll) directly in. It is part of our building to age in place.
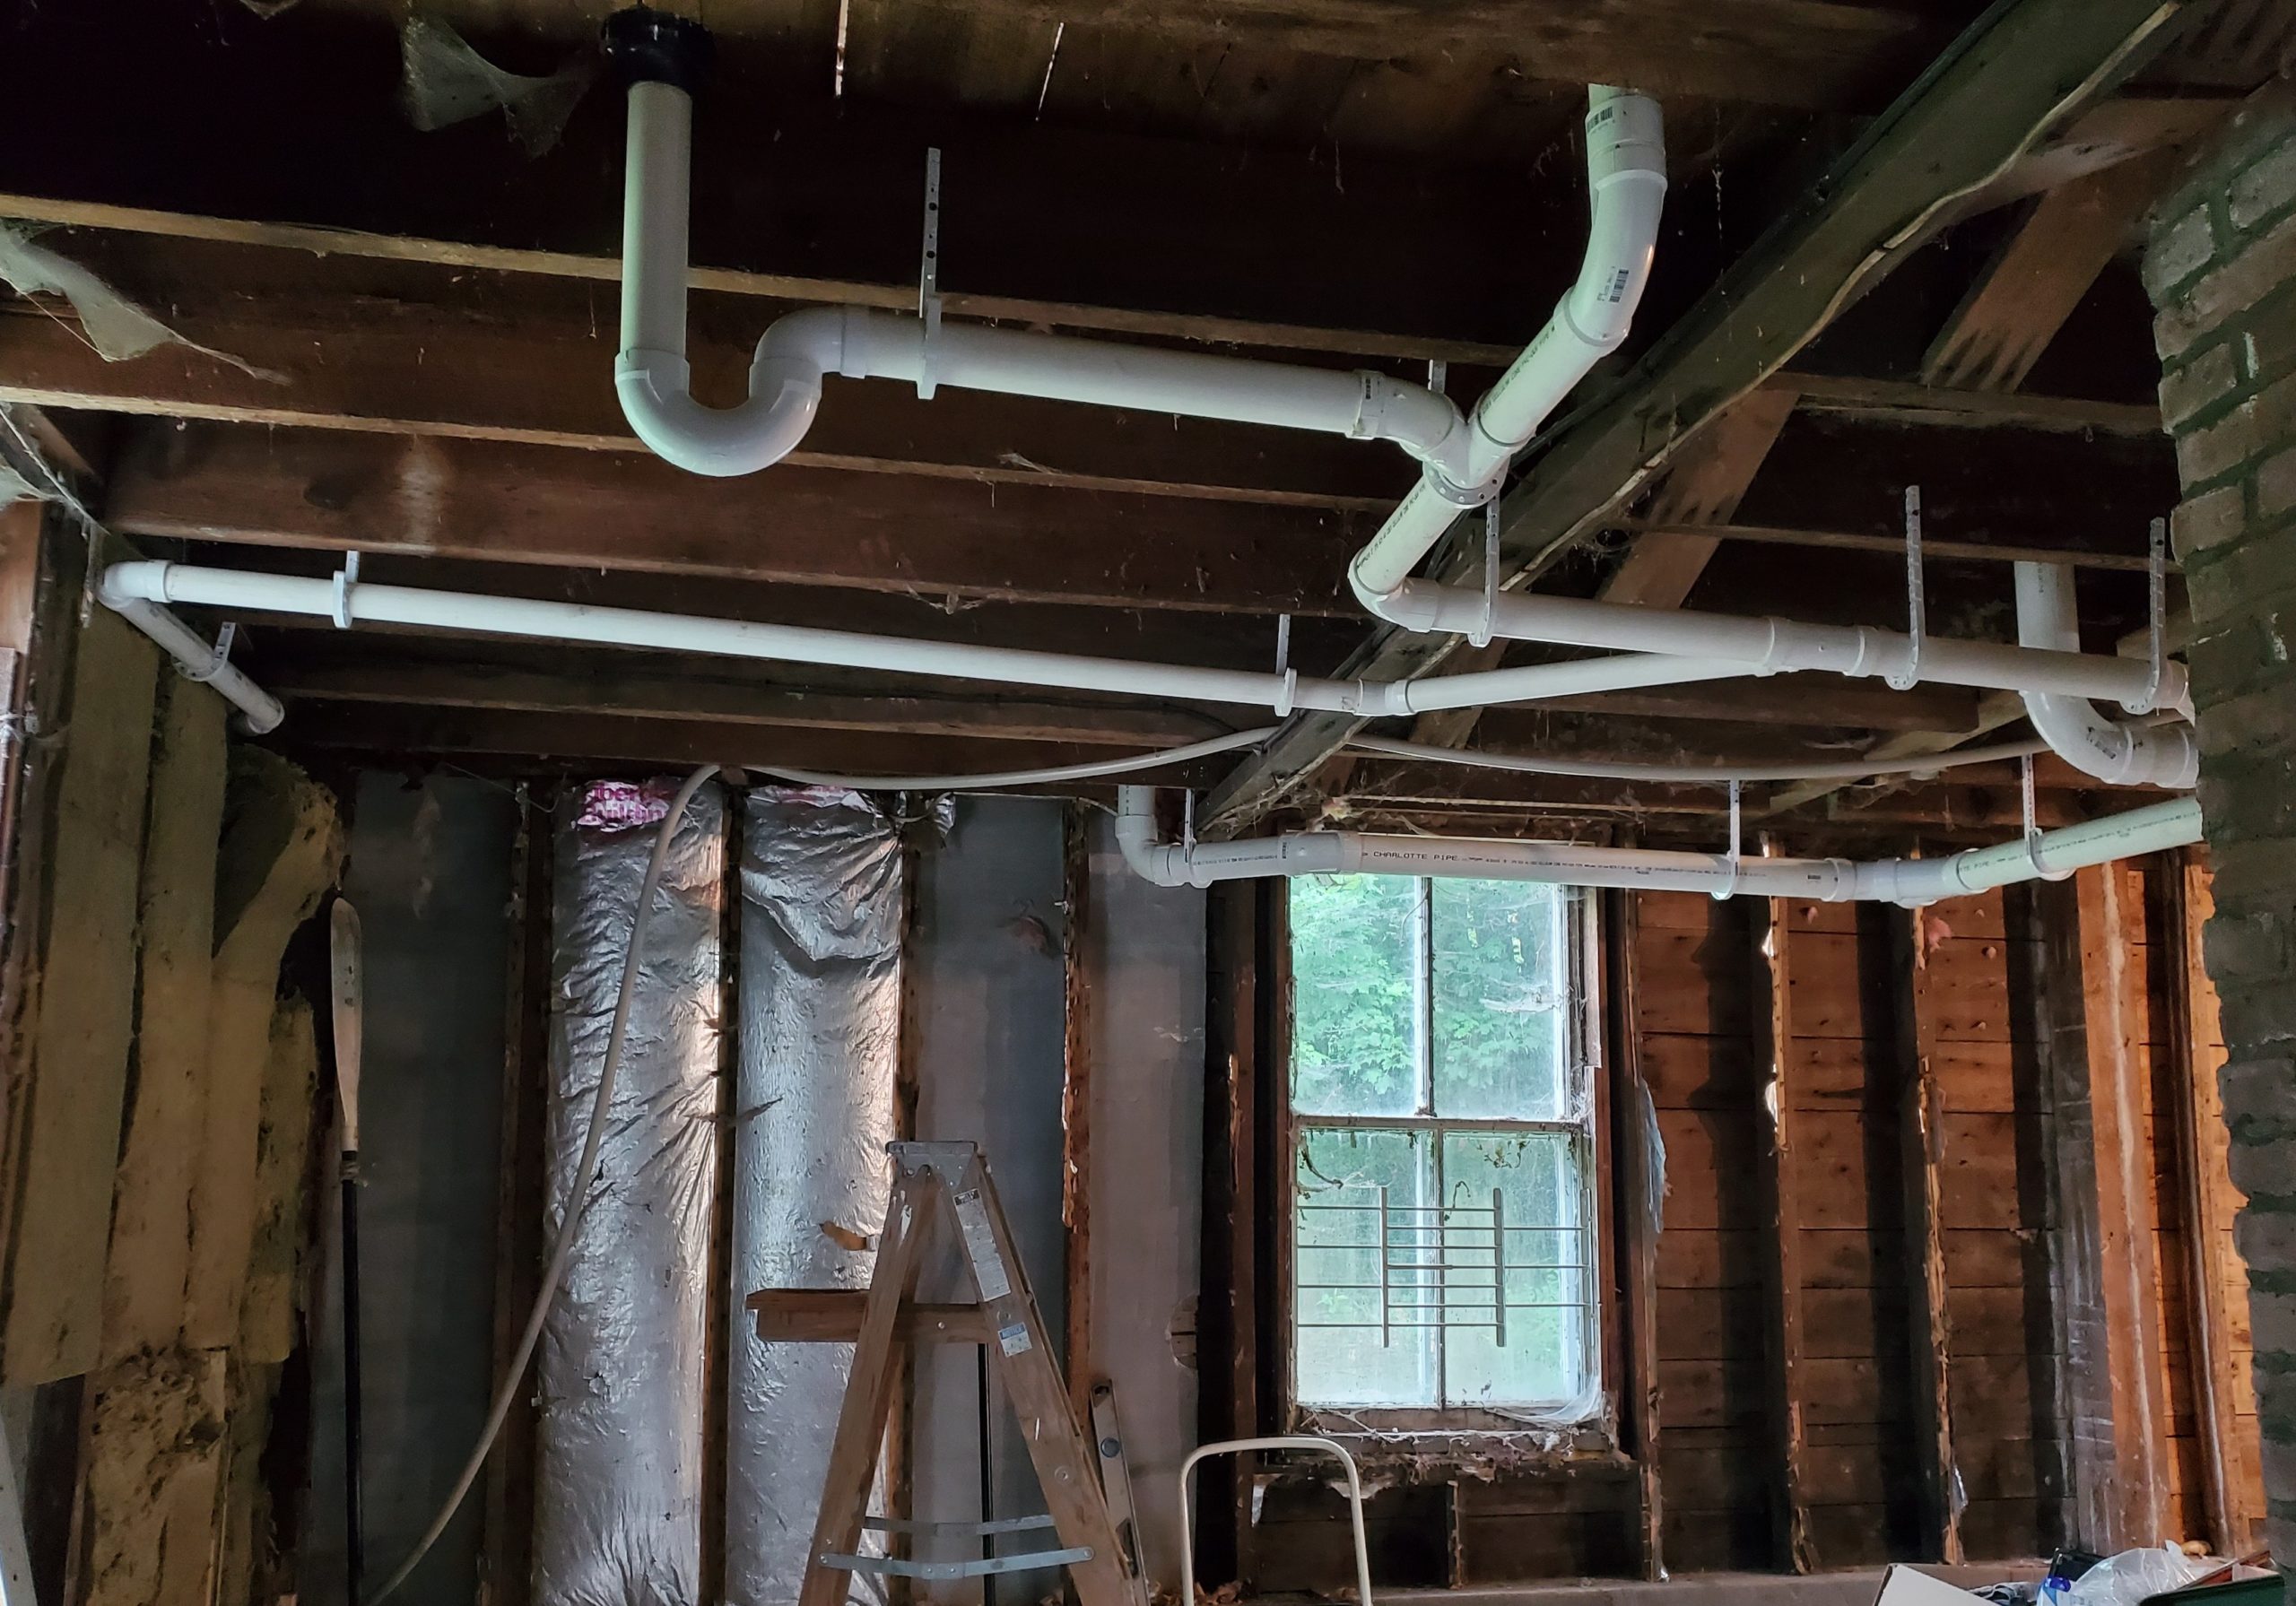
Here is the finished framing with the rough plumbing for the shower installed.
Planning for the possibility of reduced mobility is also the reason for using this first-floor room for a washer and dryer. We won’t have to go down to the basement for laundry. It was also more efficient to have all of the major plumbing at one end of the house.
For the laundry wall, the codes for the plumbing and drains required that they be framed with two-by-sixes. Studs of that size create the clearance for the larger 3″ pipes to run through, without being too close to exterior walls.
What is called a 3” pipe actually measures closer to 3¾”. But if you drill a 3¾” hole in your stud for the pipe to go through, and if you don’t drill it perfectly straight through, your pipe can get stuck or may not stand straight. So most people use a hole saw to drill a 4” hole, leaving a little wiggle room. That way, the pipe runs the way they want it to.
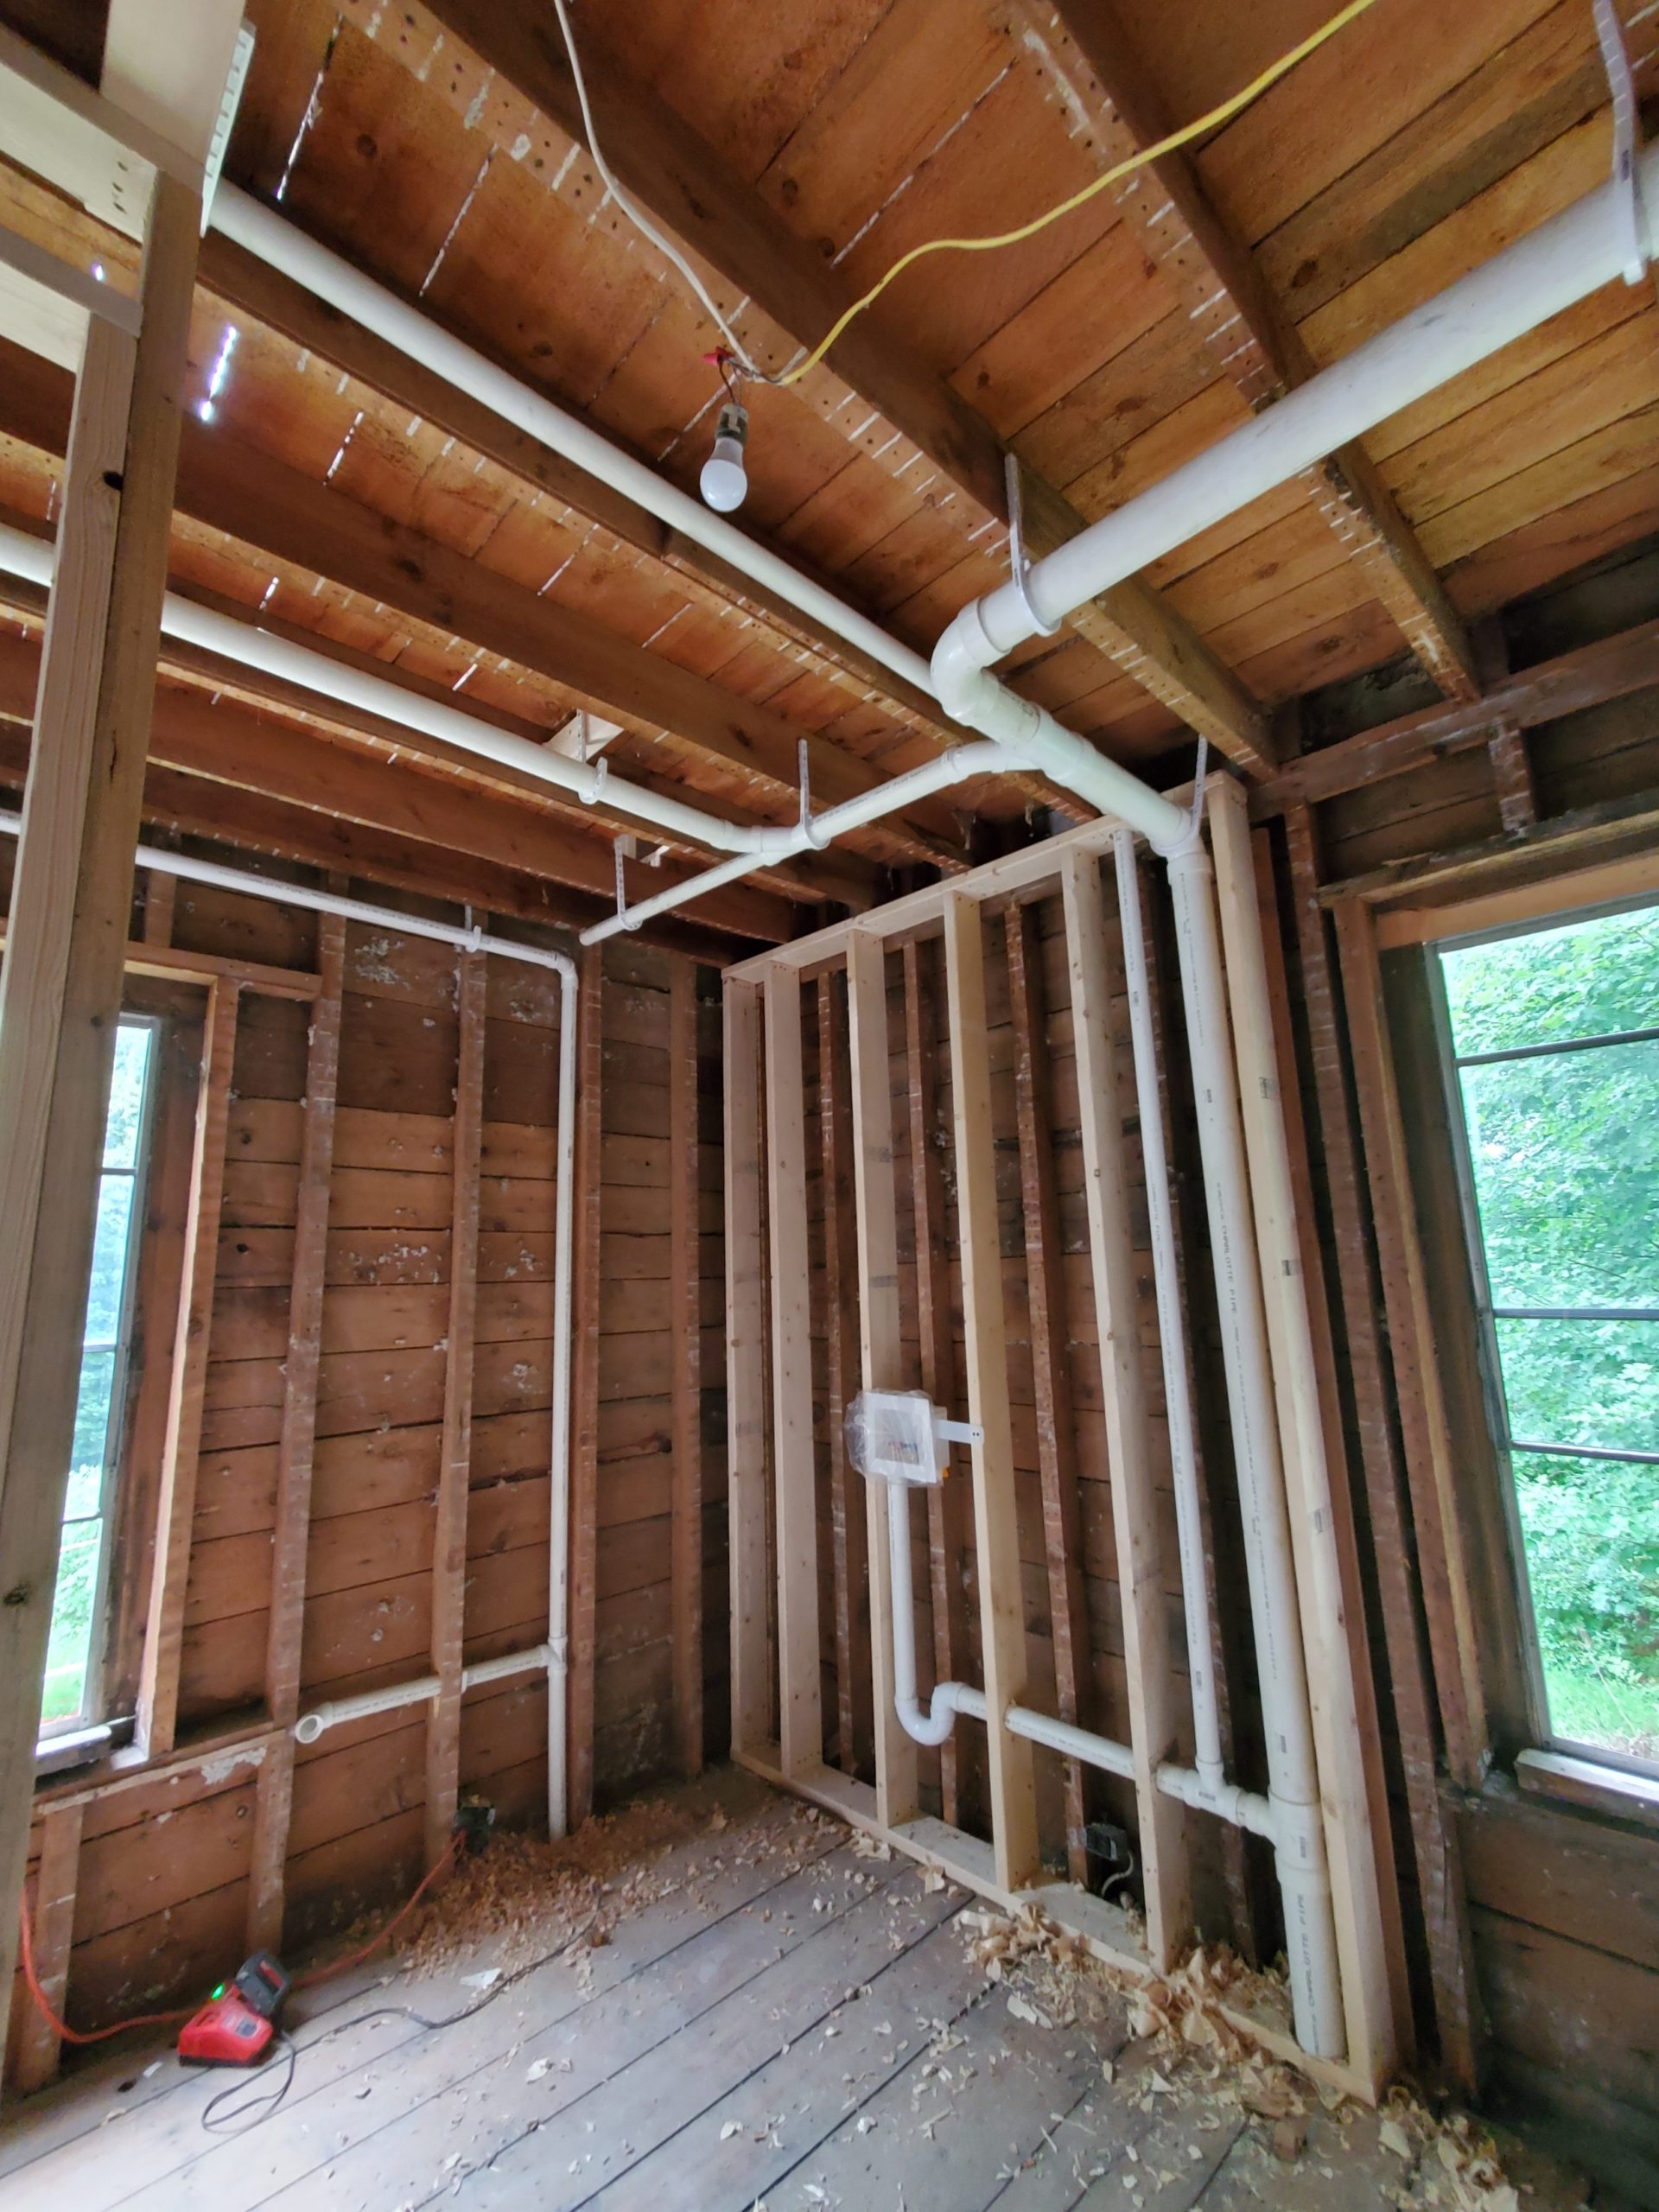
The other thing is that two-by-sixes are really two-by-five-and-a-half inches. If you cut a four-inch hole through one of them, you still have a margin of at least ¾” on either side of the hole.
Second Floor Plumbing
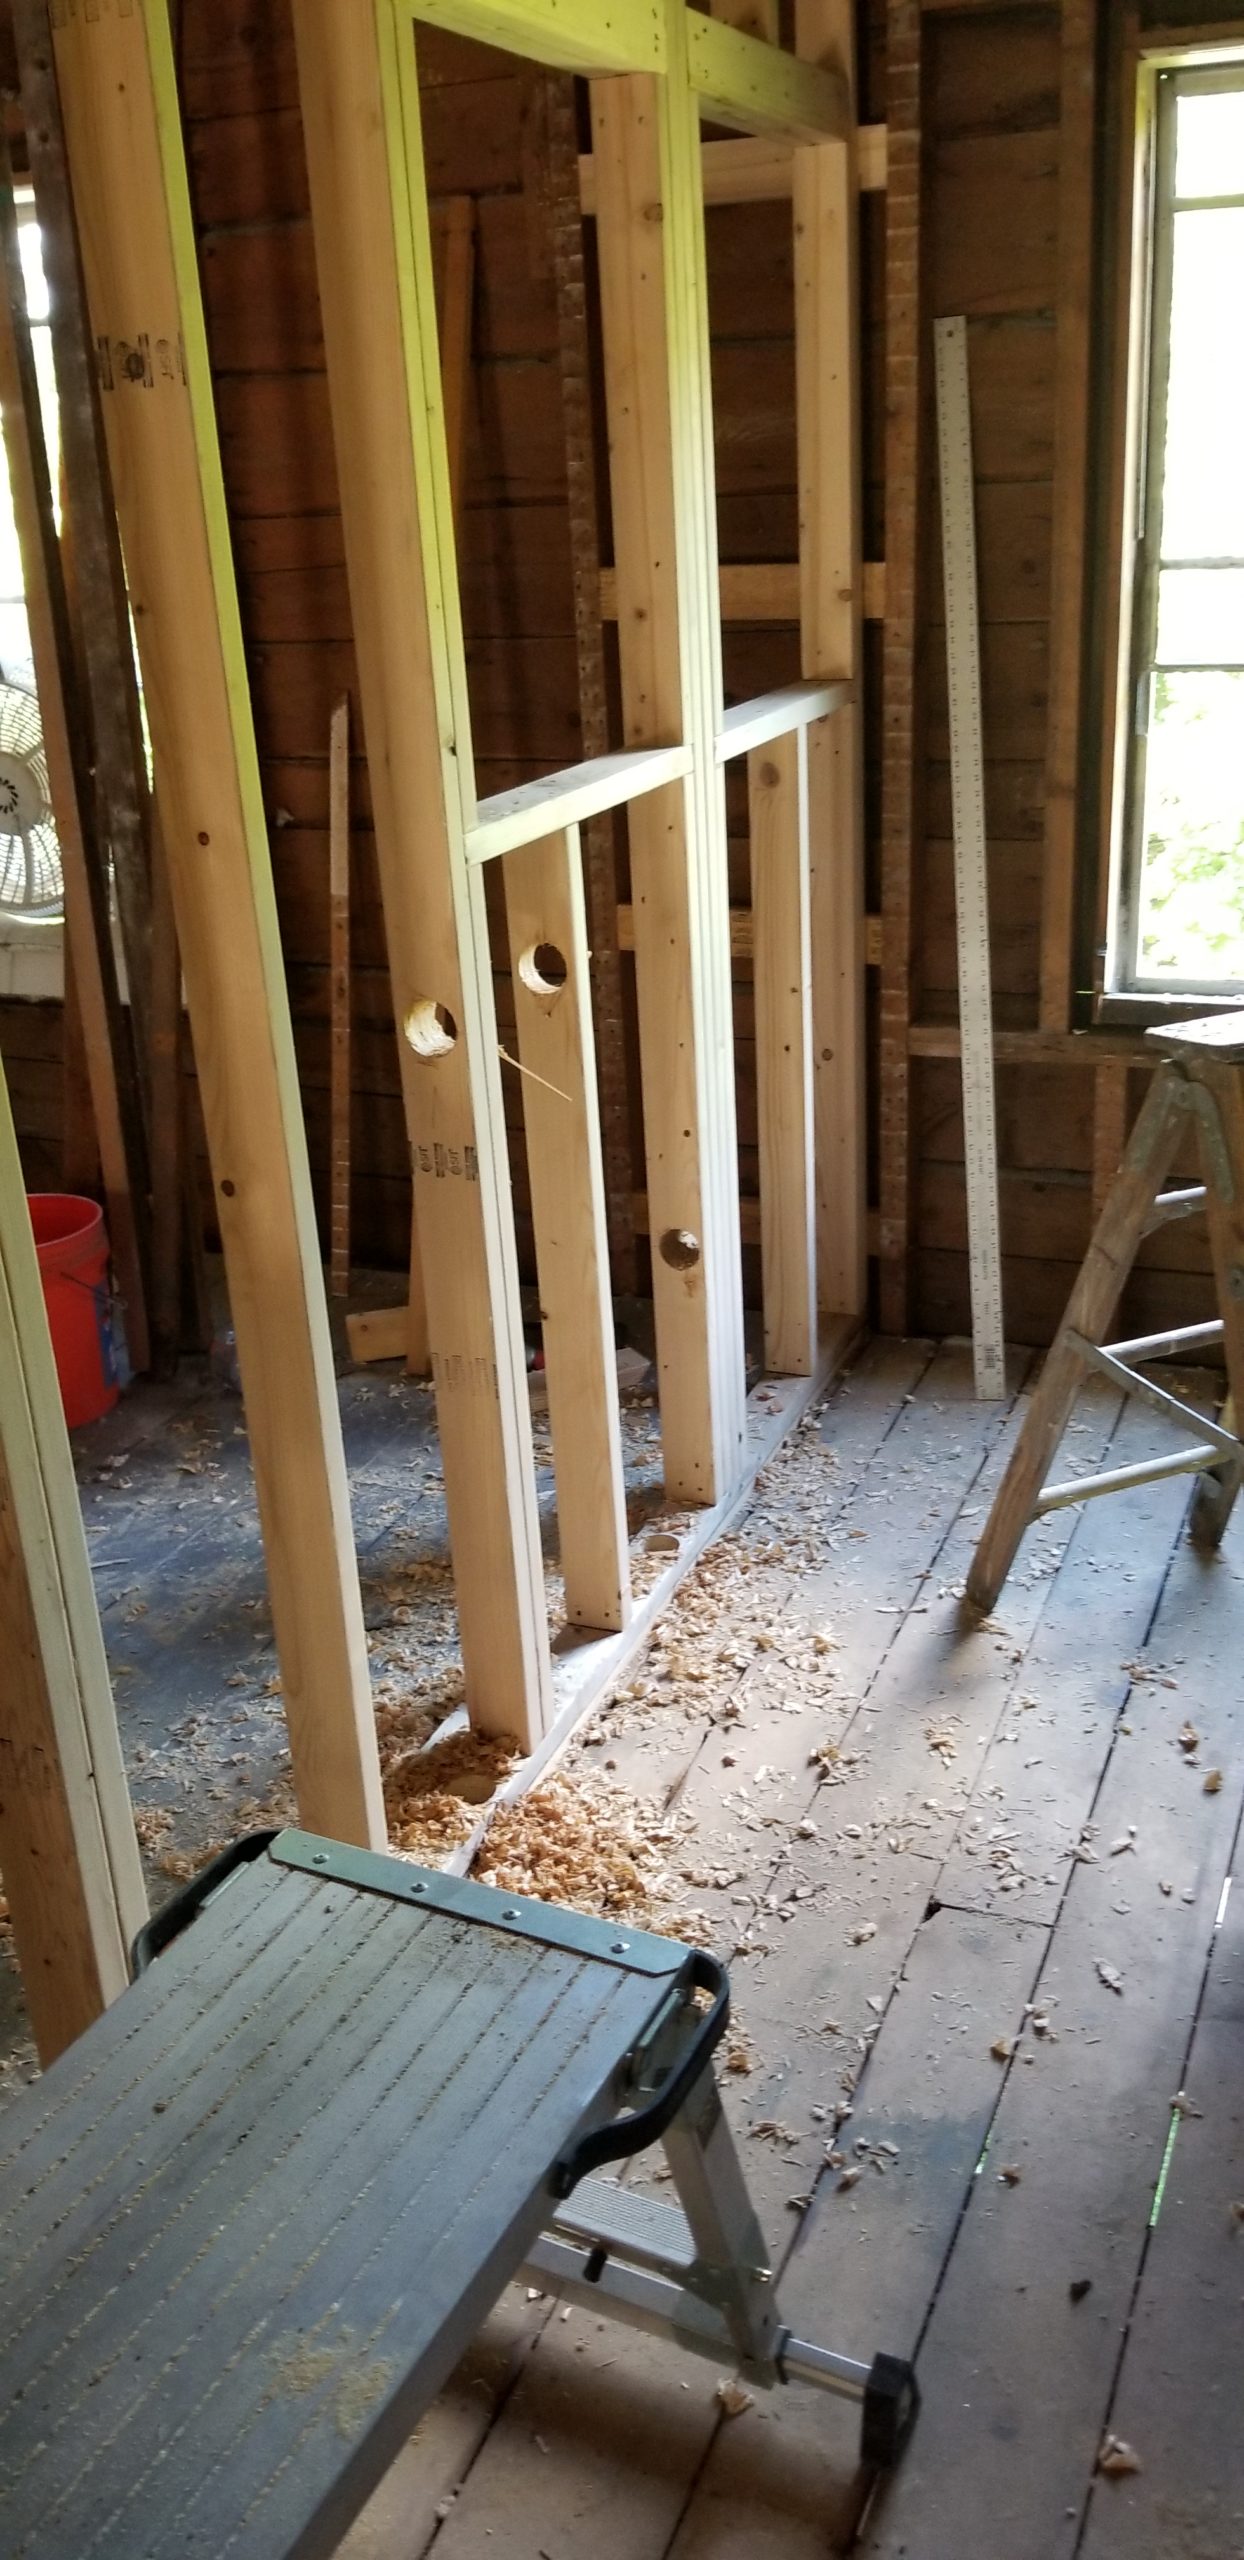
For the upstairs bathroom, we will put in a double vanity. (Linda says she wants her own sink!). When installing medicine cabinets, I hate having to tear out existing framing to create the surrounding supports. For this bathroom, I have built in the openings for double medicine cabinets/mirrors ahead of time. They are a little larger than we may end up needing, but it’s easy to downsize the openings.
We have opted for what is known as a soaking tub, which is deeper than an ordinary bathtub. After a lot of looking, we chose an EverClean 6-Jet Whirlpool tub.
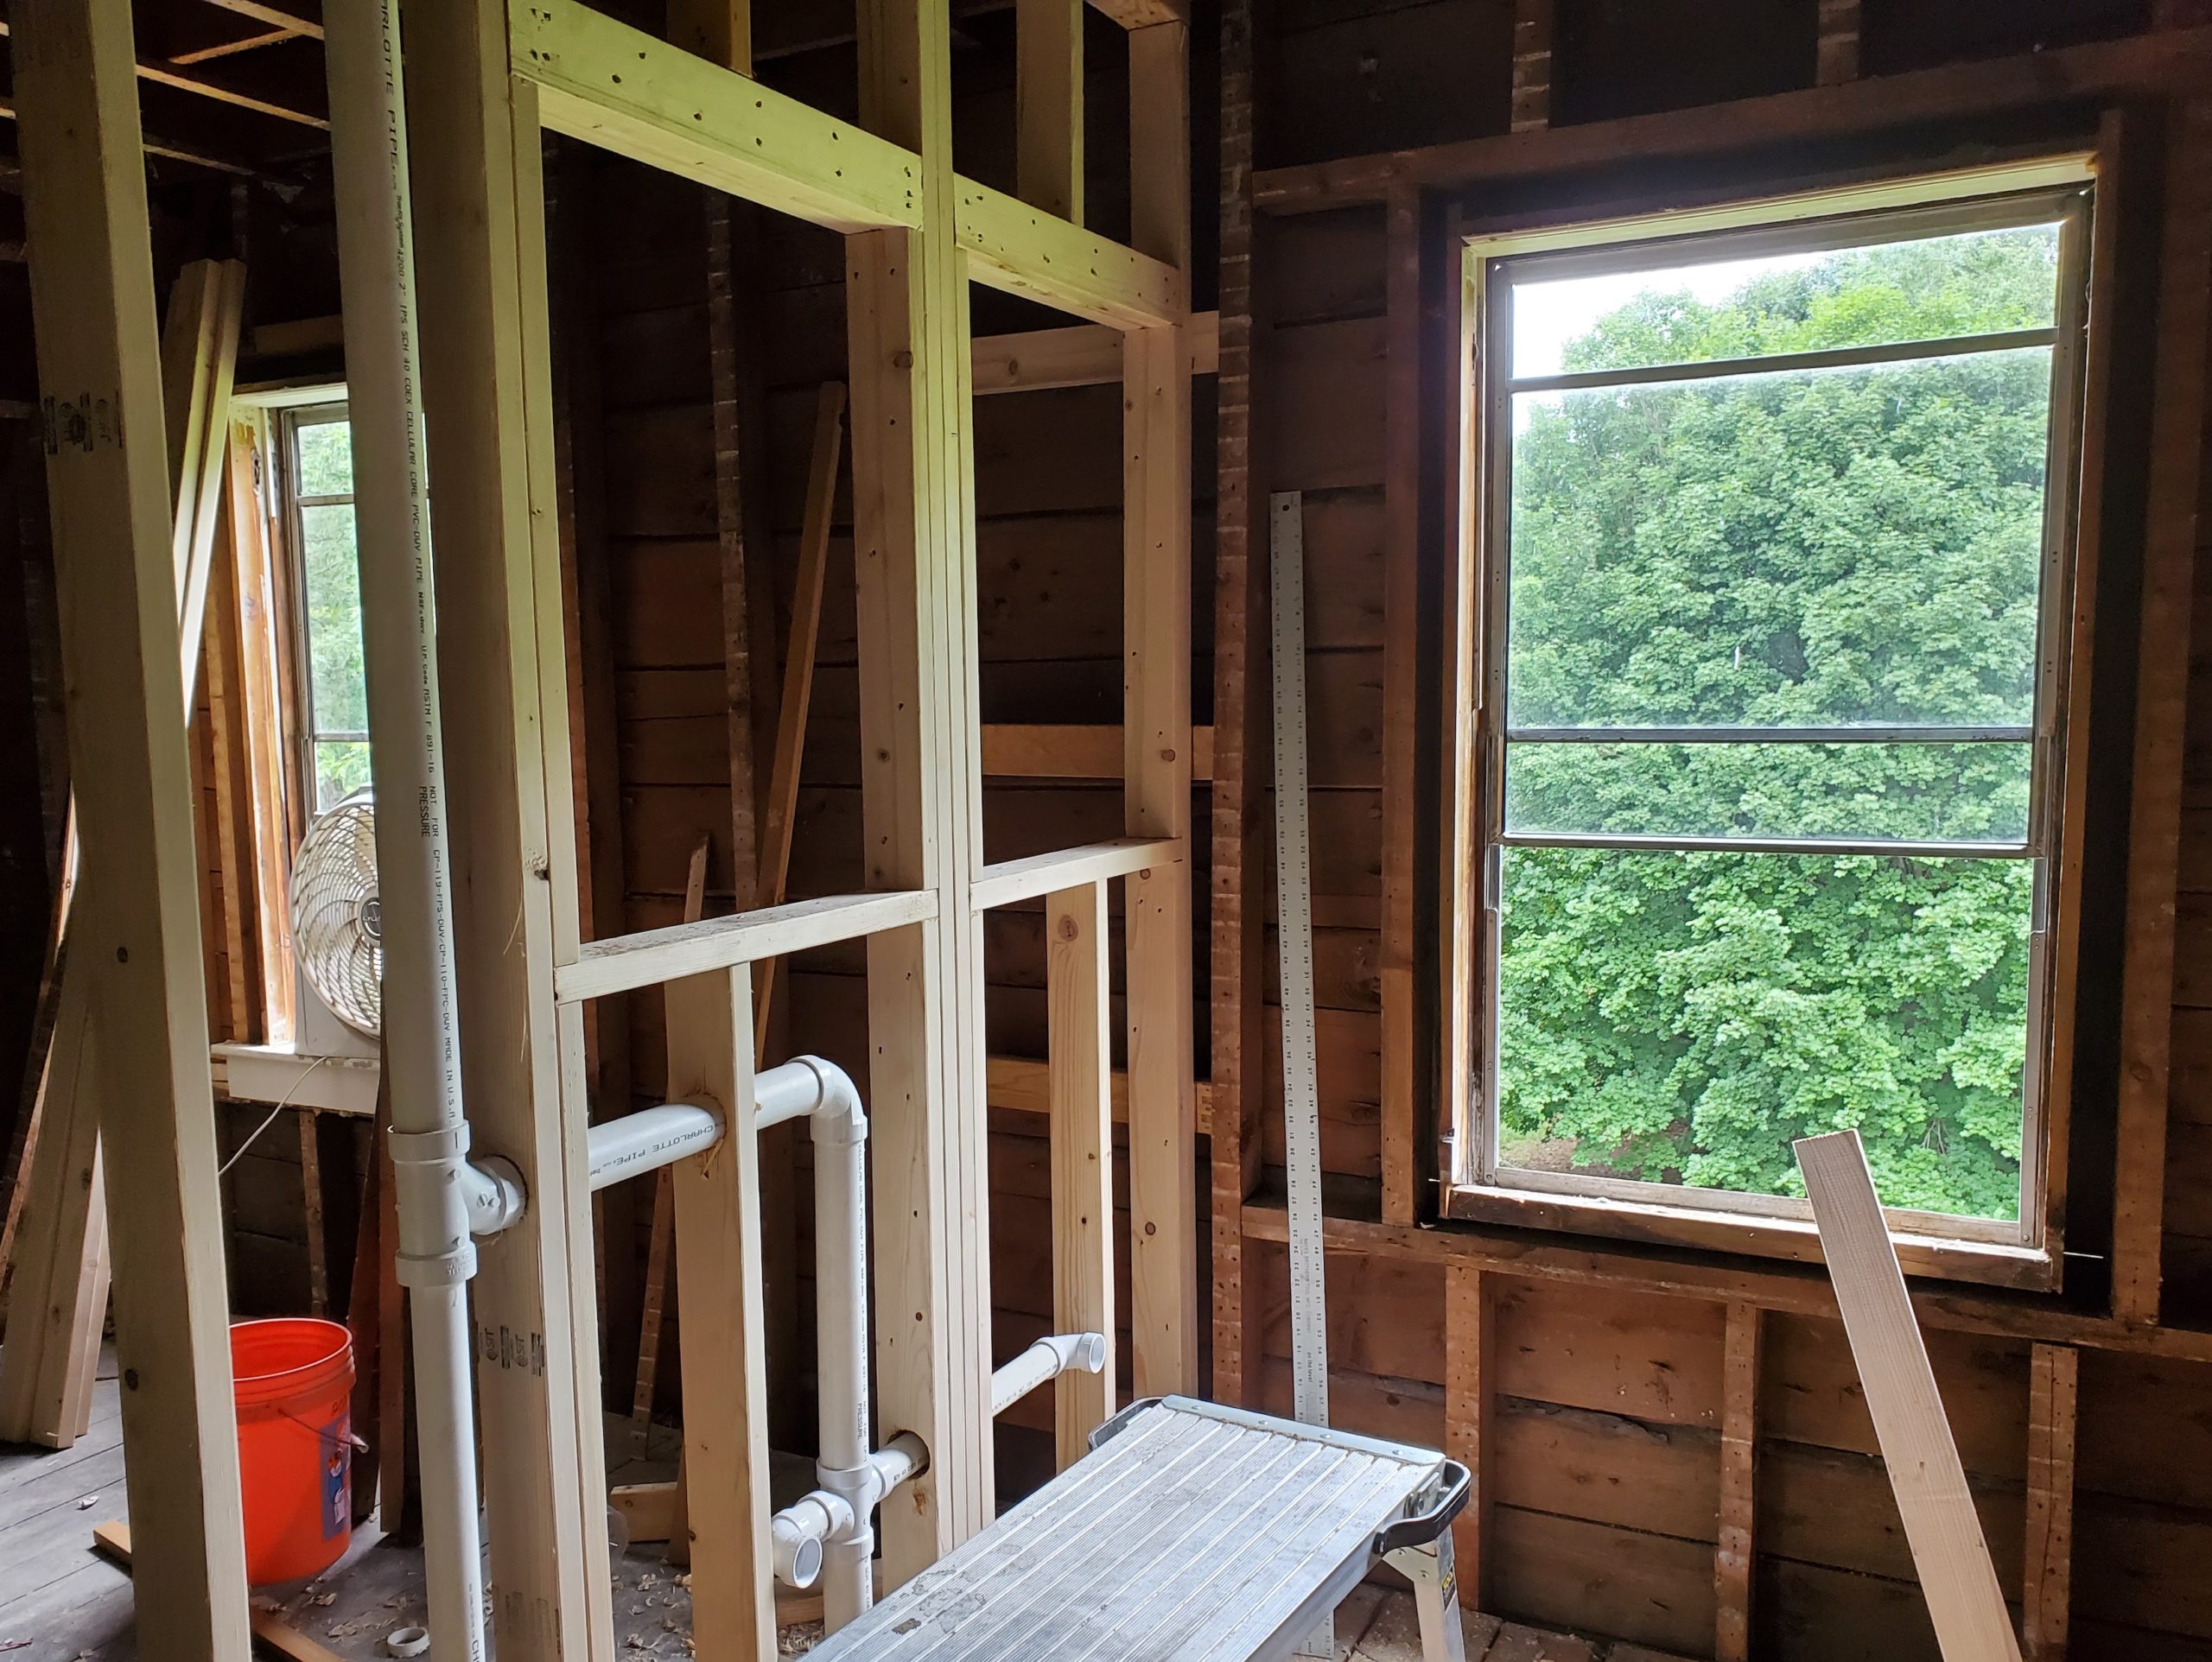
Here is the start of the framing for the bathtub and shower unit. To offset the slope of the roof and to have enough room to put in a shower, I built what’s called a bump-out. It creates an artificial back wall for the tub, but also brings it a little farther into the room.
We had to get the actual tub, so that Ray could fit everything in correctly, even though it will be quite some time before we can actually use it.

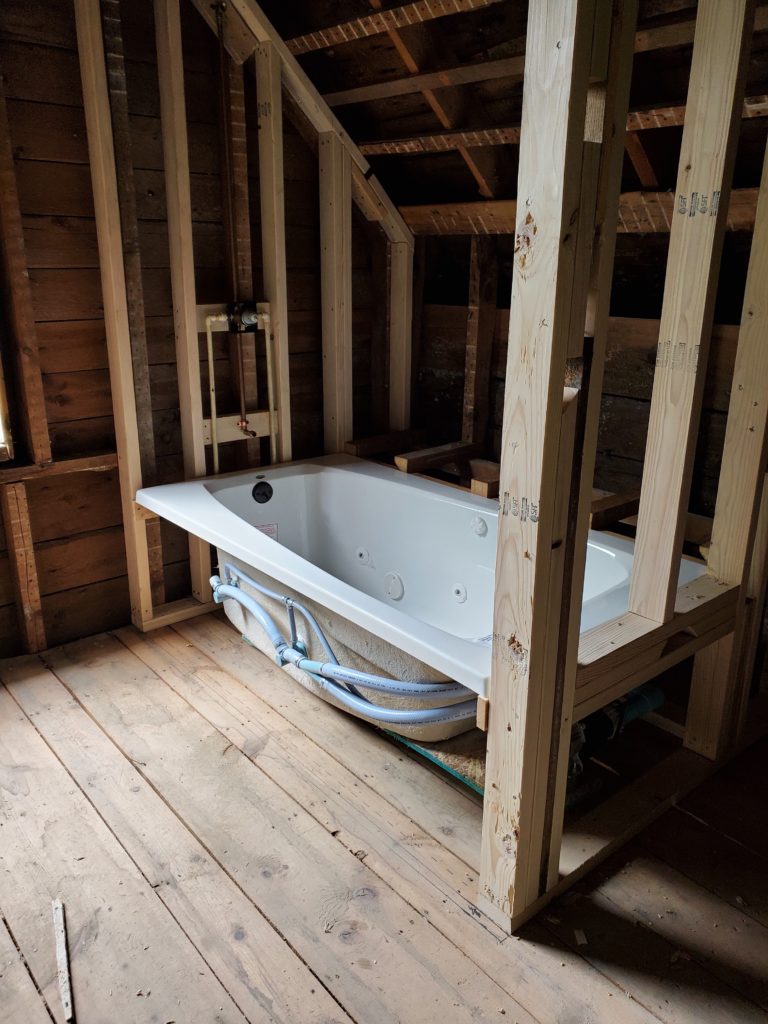
This tub has whirlpool vents. I asked for those. As I get older, and things ache more by the end of the day, I’m really looking forward to being able to soak it all out. I know there’s such a thing as breakfast in bed. How about dinner in tub?
Resources
For more on backflow arrestors, or preventers, check out PlumbingToday.2017. What Is A Backflow Preventer And How Does It Work? https://plumbingtoday.biz/blog/what-is-a-backflow-preventer-and-how-does-it-work
For an example of meter horns, you can look at: City of Andover, Minnesota. About Our System. https://www.andovermn.gov/153/About-Our-System
In case you happen to be interested in the history of nails (and after all, who isn’t), see:
InspectaPedia. History & Photos of Nails
Age of Antique Nails & Cut Nails Indicates Building Age. https://inspectapedia.com/interiors/Nails_Hardware_Age.php
For sources on curbless showers, see:
Schluter Systems. 2019. 3 ways to build your curbless shower”: https://www.schluter.com/schluter-us/en_US/curbless-showers
Builder. 2019. Curbless Showers Among Most Common Aging-In-Place Projects. https://www.builderonline.com/article/curbless-showers-among-most-common-aging-in-place-projects_c
Intriago, Joy. 2020. The Aging in Place Home: The Bathroom. https://www.seniorsmatter.com/aging-place-home-bathroom/2491926
To learn more about soaking tubs, check out:
Yael. 2017. Soaking Tubs: Everything You Need to Know. https://www.qualitybath.com/discover/post/18020/soaking-tubs-everything-need-know
Alterman, Liz. 2018. What Is a Soaking Tub? A Luxurious Bathing Fixture That Has Basic Bathtubs Beat. https://www.realtor.com/advice/home-improvement/what-is-a-soaking-tub/.
Steven Mittleman
Looking good. I have been working with Habitat for Humanity for the past 7 years and always amazed at the amount of work and detail that goes into building or renovating houses. And, we have a lot of professionals donating their time and expertise. To me, the biggest changes are when the sheet rock is put up. Begins to look like a real house when all the plumbing and electrical are covered. Floors make the next big difference. If I lived closer, I would love to help you. Nice seeing the plan come together.
Looking forward to the next blog installment
Devon Thibeault
Thanks, Steve.
Donene
Love reading this update and seeing the photos!
Linda Barnes
The challenge for me is to be right there often enough to catch the pictures as things are happening!
Linda Barnes
Thank you!
Deb
The sheetrock and flooring will make the house look more like a completed home but it is the planning and all this preparation that makes the home have the useable and comfortable flow that meets the homeowners needs. Great job! Prep makes the finish product right. Wishing you all the best.
Linda Barnes
We’re trying to think through all the plan-ahead steps. I’m sure we’ll overlook some of them, but I figure it’s like my stepfather used to say, “Measure twice, cut once.”